Best Mint Brownies Recipe for Chocolate Lovers
Chocolate lovers, this one’s for you.
If you enjoy rich brownies and refreshing mint flavors, this Mint Brownies Recipe deserves a permanent spot in your dessert collection. The combination feels indulgent, balanced, and surprisingly easy to make.
I started baking these brownies for holiday gatherings years ago. Now friends request them year-round. Honestly, I can’t blame them. Chocolate and mint create one of those flavor combinations that rarely disappoint.
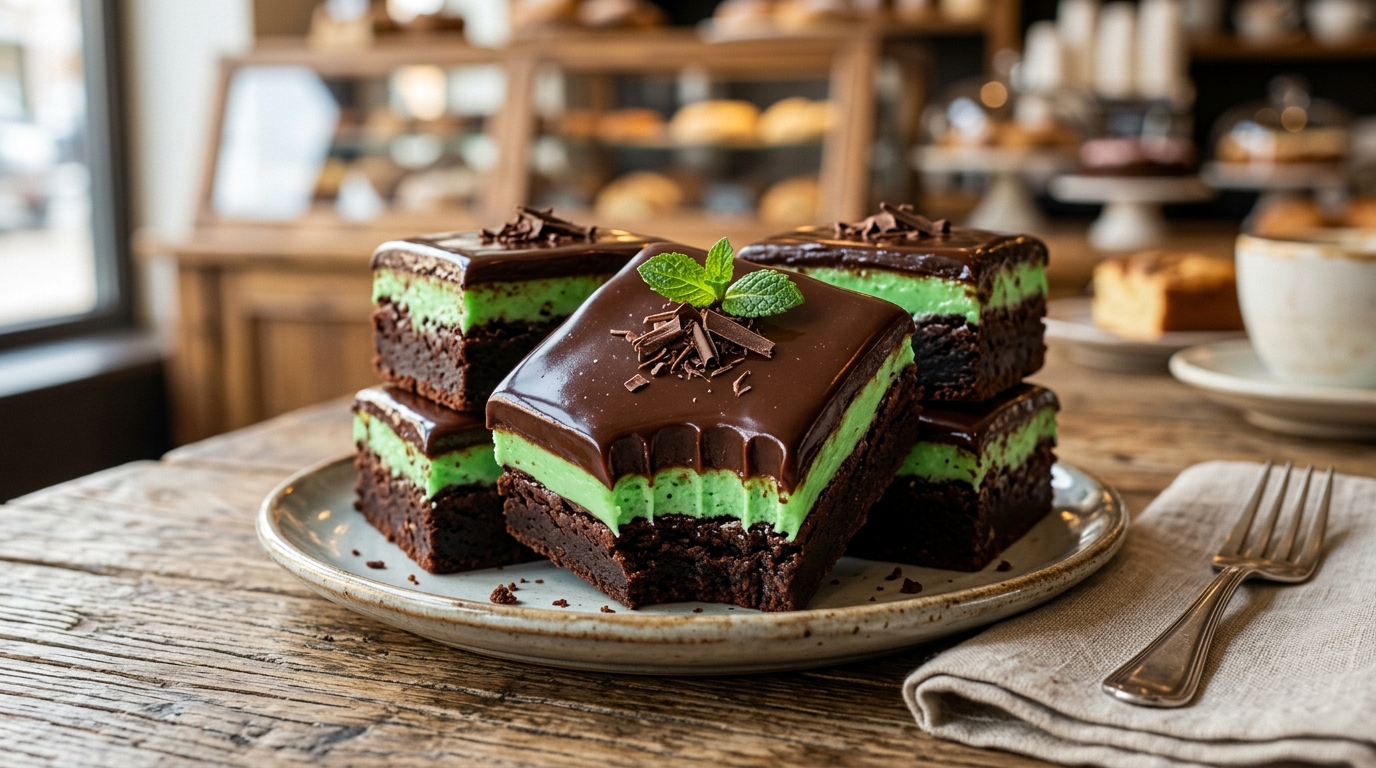
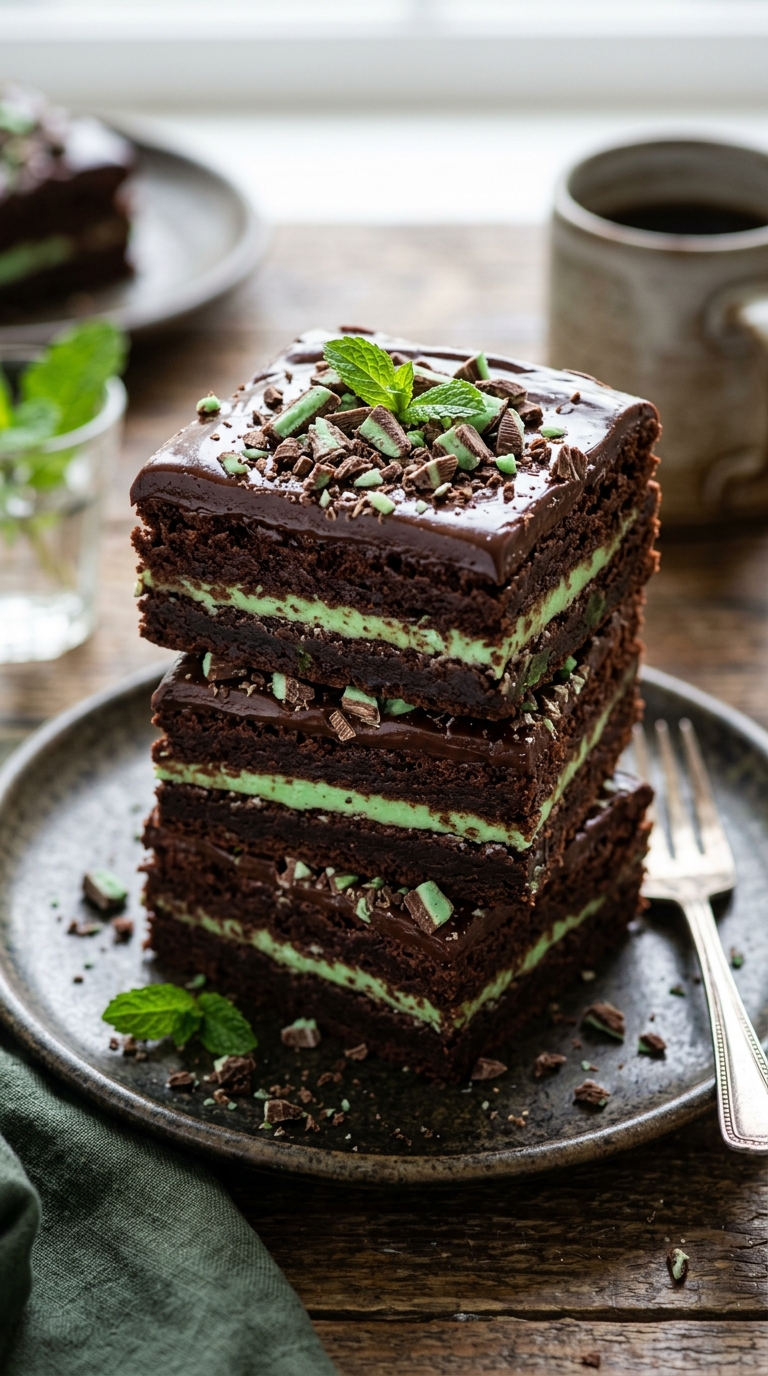
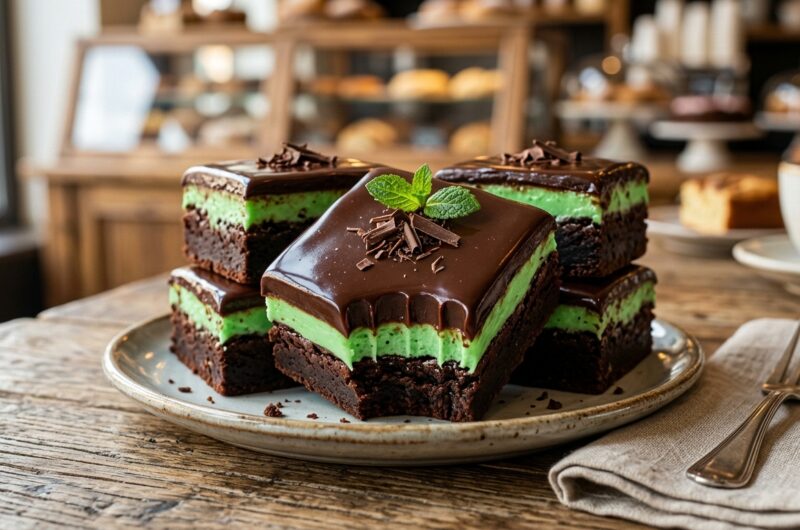
These brownies feature a fudgy chocolate base, a creamy mint layer, and a silky chocolate topping. Every bite delivers a little chocolate magic with a refreshing finish.
Recipe Overview
Servings: 16 brownies
Preparation Time: 20 minutes
Baking Time: 30 minutes
Cooling & Decorating Time: 1 hour
Total Time: 1 hour 50 minutes
Difficulty Level: Easy to Moderate
Ingredients for Mint Brownies Recipe
Brownie Layer
- 1 cup unsalted butter, melted
- 2 cups granulated sugar
- 4 large eggs
- 2 teaspoons vanilla extract
- 1 cup unsweetened cocoa powder
- 1 cup all-purpose flour
- 1/2 teaspoon salt
- 1/2 teaspoon baking powder
Mint Filling Layer
- 1/2 cup unsalted butter, softened
- 2 cups powdered sugar
- 2 tablespoons milk
- 1 teaspoon peppermint extract
- 2 to 3 drops green food coloring (optional)
Chocolate Topping Layer
- 1 cup semi-sweet chocolate chips
- 4 tablespoons unsalted butter
Why Mint Chocolate Brownies Are So Popular
People love contrast in desserts.
Chocolate delivers richness while mint adds freshness. Together they create balance instead of overwhelming sweetness.
Have you ever noticed how mint makes chocolate taste even deeper? That contrast explains why Mint Chocolate Brownies remain a favorite dessert for generations.
The flavor combination also appears in many popular treats.
You’ll find similar flavors in:
- Andes Mint Brownies
- Andes Mint Cake
- Mint Chocolate Chip Cake
- Mint Chocolate Desserts
- Mint Dessert Recipes
That popularity isn’t an accident.
What Makes This the Best Mint Brownie Recipe?
Many brownie recipes focus only on chocolate.
This recipe balances all three layers carefully. The brownie stays fudgy, the mint layer remains creamy, and the chocolate topping creates a smooth finish.
I tested several versions before settling on this combination. Some recipes used too much peppermint and tasted like toothpaste. Nobody wants dessert that reminds them of brushing their teeth.
That’s why I consider this the Best Mint Brownie Recipe for home bakers.
Equipment You’ll Need
Keep things simple with these tools:
- 9×13-inch baking pan
- Mixing bowls
- Electric mixer
- Spatula
- Whisk
- Measuring cups
- Measuring spoons
Nothing fancy appears here.
The brownies bring the drama. The equipment stays humble.
How to Make Mint Brownies Recipe
Step 1: Prepare Your Baking Pan
Preheat your oven to 350°F (175°C).
Grease a 9×13-inch baking pan lightly. Line it with parchment paper if you want easier cleanup.
I always use parchment paper because scrubbing pans ranks very low on my list of hobbies.
Step 2: Mix the Wet Ingredients
Place melted butter into a large mixing bowl.
Add sugar and whisk thoroughly. Continue mixing until the ingredients combine smoothly.
Add eggs one at a time.
Mix after each addition. Pour in vanilla extract and stir again.
The mixture should look glossy and thick.
Step 3: Add the Dry Ingredients
Add:
- Cocoa powder
- Flour
- Salt
- Baking powder
Mix gently until everything combines.
Avoid overmixing.
Overmixed brownies can lose that wonderful fudgy texture everyone loves.
Step 4: Transfer Batter to Pan
Pour the brownie batter into the prepared pan.
Spread it evenly using a spatula.
Take an extra minute here. Even batter thickness helps every brownie bake consistently.
Step 5: Bake the Brownies
Place the pan in the oven.
Bake for 28 to 32 minutes.
Insert a toothpick near the center. A few moist crumbs should stick to it.
You want fudgy brownies, not chocolate bricks.
Step 6: Cool Completely
Remove the brownies from the oven.
Let them cool completely before adding the mint layer.
Patience matters here.
Warm brownies can melt the frosting and create a green swamp. Trust me, I learned that lesson the hard way.
Making the Mint Cream Layer
Step 7: Beat the Butter
Place softened butter into a mixing bowl.
Beat it until smooth and creamy.
This process usually takes about two minutes.
Step 8: Add Powdered Sugar
Gradually add powdered sugar.
Mix continuously to avoid lumps.
The mixture should become thick and fluffy.
Step 9: Add Mint Flavor
Pour in milk and peppermint extract.
Add food coloring if desired.
Mix until smooth.
The mint layer should look creamy and spreadable.
This layer creates the signature flavor found in many Mint Cream Brownies.
Step 10: Spread the Mint Filling
Spread the mint mixture evenly across the cooled brownie layer.
Use an offset spatula or spoon.
Place the pan in the refrigerator for 20 minutes.
Chilling helps the layers stay neat and distinct.
Creating the Chocolate Topping
Step 11: Melt Chocolate and Butter
Place chocolate chips and butter into a microwave-safe bowl.
Heat in short intervals.
Stir after every interval until smooth.
The chocolate should appear glossy and silky.
Step 12: Add the Final Layer
Pour melted chocolate over the chilled mint layer.
Spread carefully until it covers the entire surface.
This topping transforms the dessert into beautiful Mint Brownies With Chocolate Ganache.
Step 13: Chill Before Cutting
Place the brownies in the refrigerator for at least 30 minutes.
Allow the topping to set fully.
Sharp edges create prettier brownies.
Of course, taste matters more than appearance, but pretty brownies definitely earn bonus points.
Tips for Perfect Homemade Mint Brownies
Use Good Cocoa Powder
High-quality cocoa powder improves flavor immediately.
Chocolate serves as the star ingredient. Strong chocolate flavor creates stronger brownies.
Measure Peppermint Carefully
Peppermint extract packs serious power.
Too little disappears.
Too much turns dessert into mouthwash.
Balance matters.
Chill Between Layers
Chilling creates cleaner layers.
It also makes slicing easier.
Professional-looking brownies start with patience.
Use a Sharp Knife
Wipe the knife between cuts.
Clean slices make the brownies look bakery-worthy.
Homemade Brownie With Mint Frosting vs Traditional Brownies
Traditional brownies focus entirely on chocolate.
A Homemade Brownie With Mint Frosting introduces extra flavor complexity.
The mint adds freshness while reducing sweetness overload.
I enjoy classic brownies, but mint brownies feel more memorable.
Guests usually remember the dessert that surprises them.
Andes Mint Brownies Variation
Love Andes Mint Brownies?
Try adding:
- 1 cup chopped Andes mints
- Extra mint pieces on top
- Crushed Andes candies in the filling
The candies melt slightly and create pockets of mint chocolate goodness.
That’s never a bad thing.
Mint Chocolate Chip Brownies Variation
Fans of Mint Chocolate Chip Brownies can add:
- 1 cup mini chocolate chips
- Mint chocolate chunks
- Dark chocolate chips
The extra chocolate creates more texture and richness.
Each bite becomes slightly different.
Homemade Brownies With Mint for Special Occasions
These brownies work wonderfully for:
- Christmas parties
- Family gatherings
- Birthday celebrations
- Potlucks
- Bake sales
- Holiday dessert tables
The green mint layer gives them festive appeal without requiring advanced decorating skills.
Comparing Mint Brownies to Other Popular Desserts
Mint Brownies vs Pistachio Brownies
Pistachio Brownies offer a nutty flavor profile.
Mint brownies deliver a fresher taste.
Both work beautifully, but mint brownies appeal to a wider audience in my experience.
Mint Brownies vs Mint Chocolate Chip Cake
Mint Chocolate Chip Cake feels lighter and fluffier.
Mint brownies provide a denser, fudgier texture.
Choose brownies when you crave intense chocolate flavor.
Mint Brownies vs Andes Mint Cake
Andes Mint Cake works well for celebrations.
Mint brownies require less effort and less decorating.
Sometimes simplicity wins.
Creative Garnishes
Want bakery-style presentation?
Try these toppings:
- Chocolate curls
- Crushed Andes mints
- Chocolate chips
- Mint leaves
- Chocolate drizzle
- Green sprinkles
Small touches create a polished appearance.
Why These Brownies Rank Among Top Mint Dessert Recipes
These brownies combine simplicity, flavor, and visual appeal.
They fit perfectly alongside popular Mint Dessert Recipes because they deliver consistent results.
Even beginner bakers can achieve impressive outcomes.
That’s a rare combination.
Inspiration From Other Chocolate Recipes
Many bakers who enjoy Chocolate Mint Plant Recipes also enjoy mint brownies.
Fresh mint can add subtle flavor to desserts.
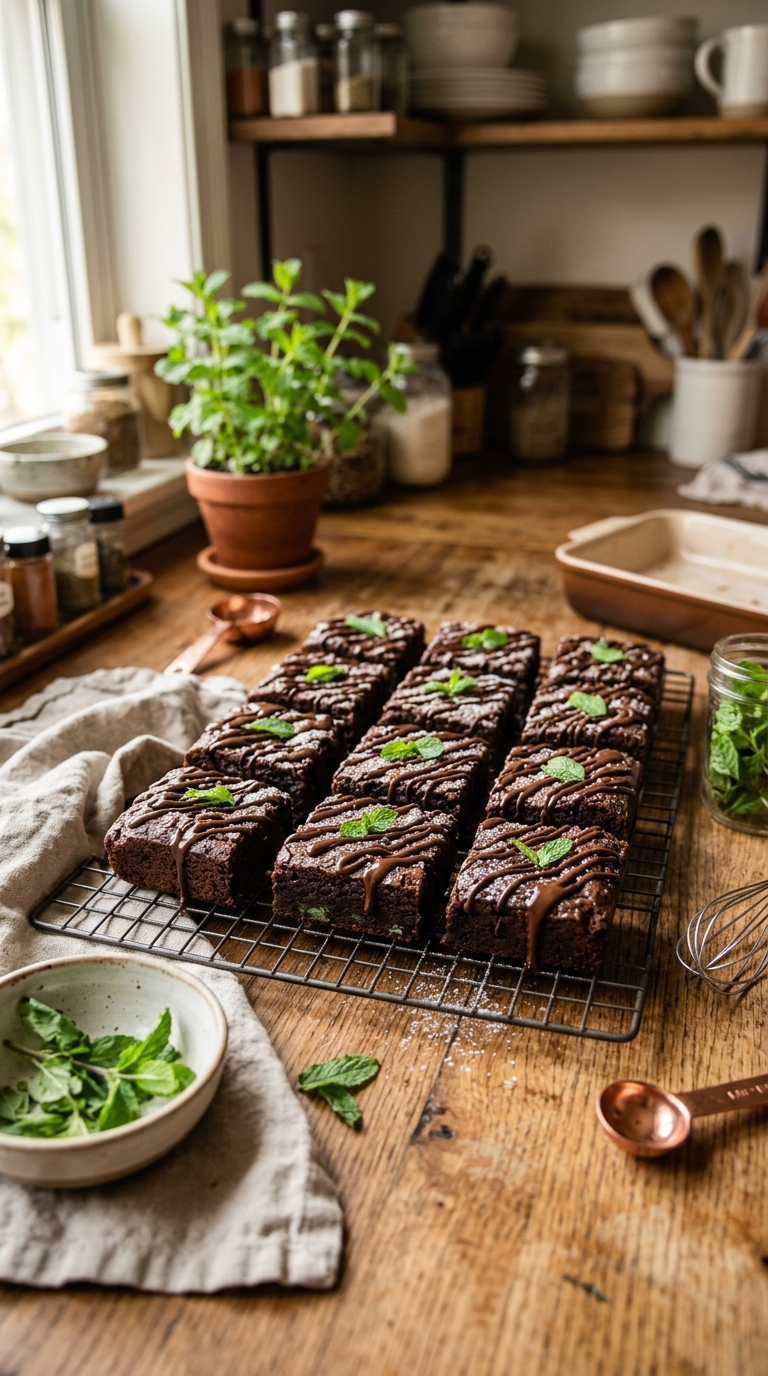
You can even garnish brownies with fresh mint leaves for a beautiful finish.
Likewise, fans of Zucchini Brownies Recipes often appreciate fudgy textures.
Both recipes focus on moist, rich chocolate flavor.
Storage Instructions
Store brownies in an airtight container.
Keep them refrigerated for up to 5 days.
For longer storage, freeze them for up to 3 months.
They thaw surprisingly well.
That fact becomes dangerous when brownies sit in your freezer waiting to tempt you.
Best Mint Brownies Recipe for Chocolate Lovers
8
servings20
minutes30
minutes300
kcalThese Mint Brownies feature a fudgy chocolate brownie base, creamy peppermint frosting, and smooth chocolate topping. They offer the perfect balance of rich chocolate and refreshing mint flavor. Easy to prepare and ideal for holidays, parties, or family desserts, they quickly become a favorite among mint chocolate lovers.
Ingredients
Brownie Layer
1 cup unsalted butter
2 cups sugar
4 eggs
2 tsp vanilla extract
1 cup cocoa powder
1 cup all-purpose flour
1/2 tsp salt
1/2 tsp baking powder
Mint Layer
1/2 cup butter
2 cups powdered sugar
2 tbsp milk
1 tsp peppermint extract
2–3 drops green food coloring
Chocolate Topping
1 cup semi-sweet chocolate chips
4 tbsp butter
Directions
- Preheat oven to 350°F.
- Prepare baking pan.
- Mix butter and sugar.
- Add eggs and vanilla.
- Stir in dry ingredients.
- Pour batter into pan.
- Bake 28–32 minutes.
- Cool completely.
- Beat butter for mint layer.
- Add sugar, milk, and peppermint.
- Spread mint layer.
- Chill 20 minutes.
- Melt chocolate and butter.
- Spread chocolate topping.
- Chill 30 minutes.
- Slice and serve.
Frequently Asked Questions
1. Can I freeze mint brownies?
Yes. Wrap them tightly and freeze for up to three months.
2. Can I use fresh mint instead of extract?
You can, but peppermint extract provides stronger and more consistent flavor.
3. How do I make brownies extra fudgy?
Reduce baking time slightly and avoid overmixing.
4. Can I make these brownies ahead of time?
Absolutely. Many people prepare them a day before serving.
5. What chocolate works best for the topping?
Semi-sweet chocolate offers the best balance between sweetness and richness.
6. Can I make Andes Mint Brownies with this recipe?
Yes. Add chopped Andes candies to the filling or topping.
7. Why did my mint layer become runny?
Warm brownies often cause that issue. Always cool the brownie layer completely first.
Final Thoughts
This Mint Brownies Recipe delivers rich chocolate flavor, refreshing mint filling, and a silky chocolate topping in every bite.
Whether you enjoy Brownies With Mint, Homemade Mint Brownies, or classic chocolate desserts, this recipe offers something special. Make a batch, share a few pieces, and try not to eat half the pan before everyone arrives. I can’t promise success on that last part 🙂