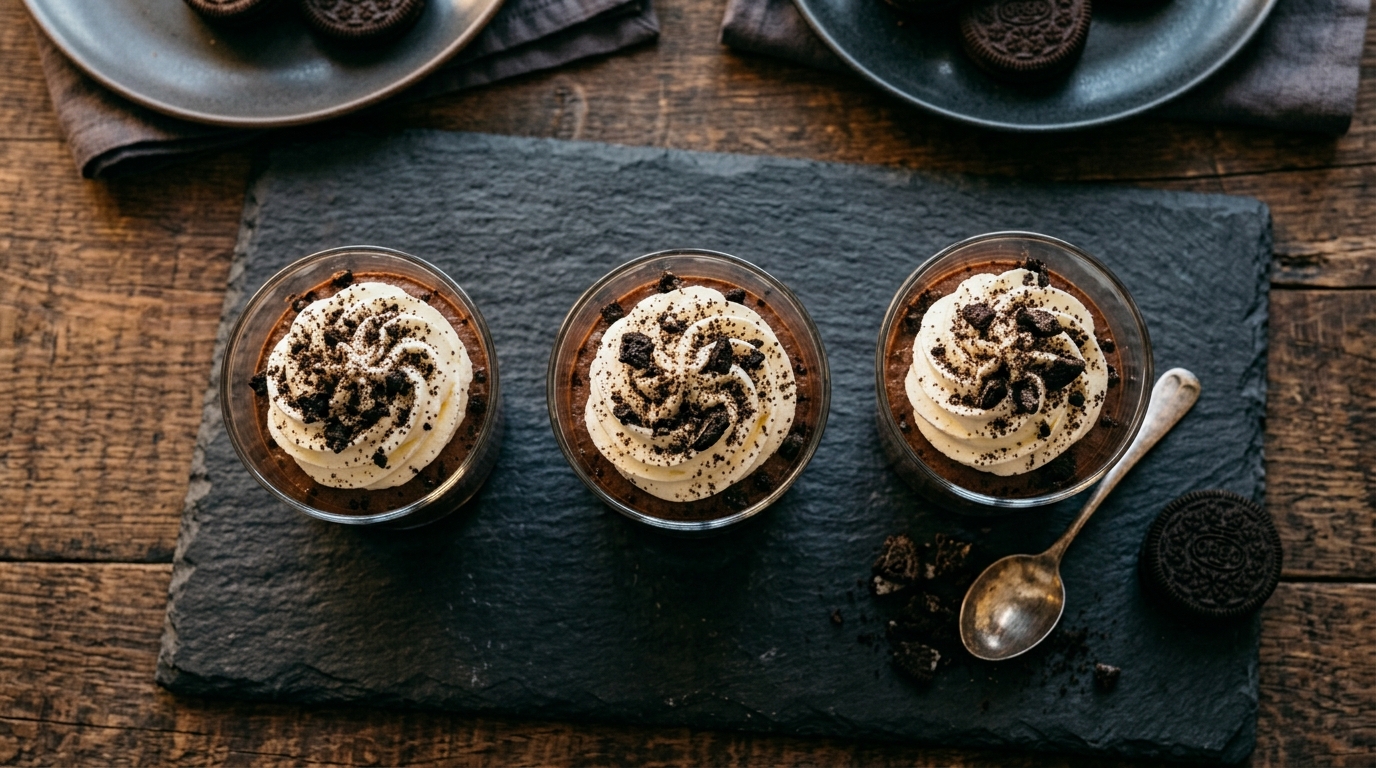
The Easiest Chocolate Mousse Cups You’ll Ever Make
Servings: 6 cups | Prep Time: 20 minutes | Chill Time: 2 hours | Total Time: 2 hours 20 minutes | No baking required
You Had Me at Oreo
Okay, real talk — the moment someone puts a chocolate mousse cup in front of me, I stop whatever I’m doing. Now add an Oreo crust? I’m completely done. These Oreo Chocolate Mousse Cups are the kind of dessert that makes people think you trained at a bakery.
You didn’t. And that’s the best part.
This recipe needs zero baking, zero complicated techniques, and zero professional equipment. Just a few ingredients, a mixing bowl, and the willpower not to eat the Oreo crust before assembling.
What Makes This Recipe So Good
Let’s be honest — most no-bake desserts feel like a compromise. Not this one. The Oreo cookie base gives you that satisfying crunch, while the whipped chocolate mousse on top is silky, rich, and light all at once.
It’s that contrast that makes people go back for a second cup. Every. Single. Time.
Here’s why this recipe works so well:
- The crushed Oreo base holds its shape without needing to bake
- The mousse uses real whipped cream — not Cool Whip — for a fresher taste
- The individual cups make portion control look intentional (even when it isn’t)
- You can prep these the night before, which basically makes you a genius host
IMO, this is one of those recipes that belongs permanently in your “impress guests without effort” rotation.
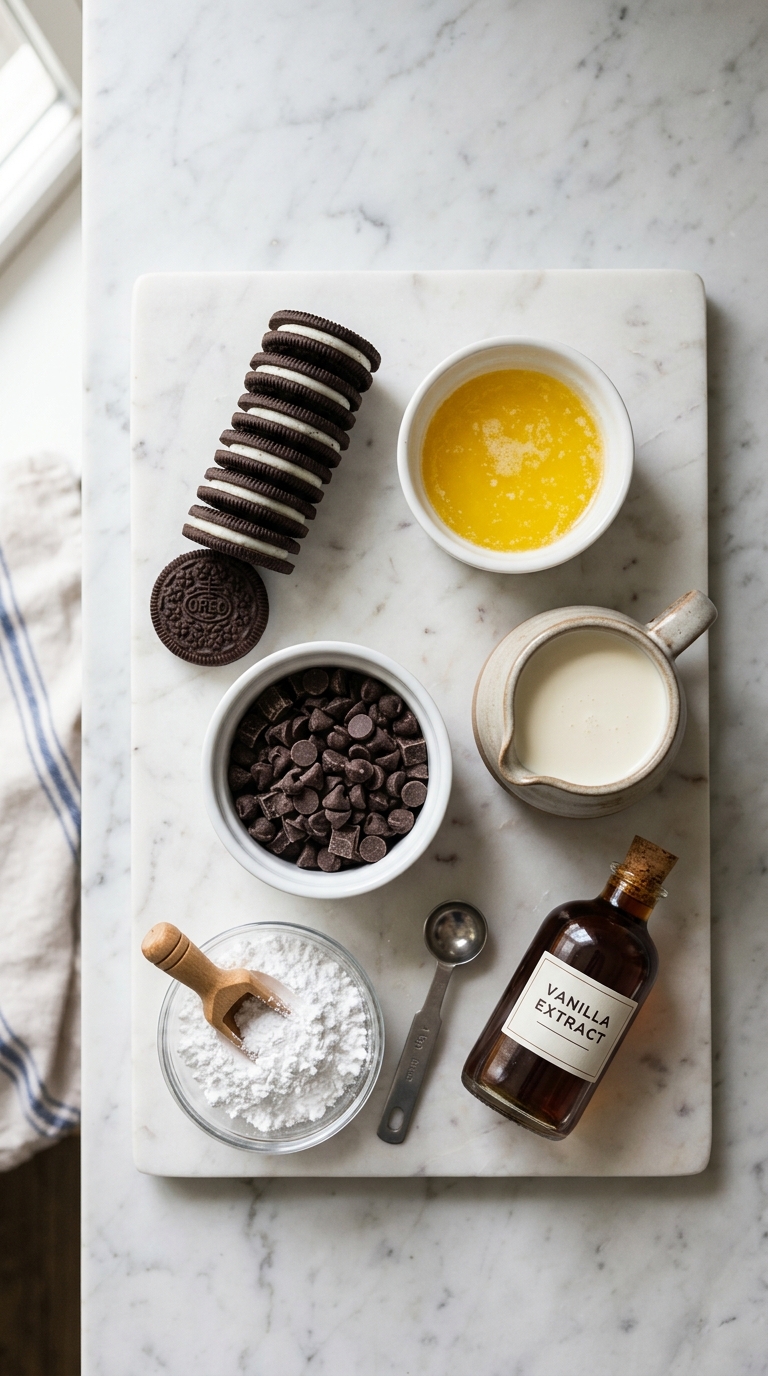
Ingredients You’ll Need
Before you start, make sure you have everything ready. Nothing worse than getting halfway through a recipe and realizing you’re out of cream. I’ve been there. It’s not fun. :/
For the Oreo Crust Base:
- 20 Oreo cookies (about 2 cups crushed)
- 3 tablespoons unsalted butter, melted
For the Chocolate Mousse:
- 1 cup semi-sweet chocolate chips (or 170g chopped dark chocolate)
- 1 and 1/2 cups heavy whipping cream, divided
- 2 tablespoons powdered sugar
- 1 teaspoon pure vanilla extract
- A small pinch of salt
For Topping (Optional but Highly Recommended):
- Whipped cream for garnish
- 2–3 extra crushed Oreos for sprinkling on top
- Chocolate shavings or mini chocolate chips
How To Make Oreo Chocolate Mousse Cups
This is where it gets fun. The whole process is straightforward — no thermometers, no stand mixers, no stress. Just follow each step and you’ll have gorgeous chocolate mousse cups ready to chill.
Step 1: Crush the Oreos
Start by placing your 20 Oreo cookies into a zip-lock bag. Seal it up and go to town with a rolling pin. You want fine, even crumbs — not huge chunks. If you have a food processor, even better.
Crush until the crumbs look like dark, chocolatey sand. That texture is what gives the base its structure. Don’t skip this step or rush it — the base matters more than people think.
Once crushed, transfer the crumbs into a bowl and mix in your 3 tablespoons of melted butter. Stir until every crumb looks slightly moist and clumps together when you press it between your fingers. That’s your cue it’s ready.
Step 2: Press the Base Into Cups
Grab 6 small serving cups, glasses, or ramekins. Spoon about 3 to 4 tablespoons of the Oreo-butter mixture into the bottom of each cup.
Use the back of a spoon or the bottom of a small glass to press the crumbs down firmly. You want a compact, even layer — not loose crumbs that’ll collapse when you spoon mousse on top.
Press firmly. This base needs to hold everything together once the mousse sits on it. Set the cups aside while you make the mousse.
Step 3: Melt the Chocolate
Add your 1 cup of semi-sweet chocolate chips and 1/2 cup of heavy cream into a microwave-safe bowl. Microwave in 30-second intervals, stirring between each one. This usually takes about 60–90 seconds total.
Stir until you have a smooth, glossy chocolate mixture — this is called a ganache. Let it cool at room temperature for about 10 minutes. You don’t want to add hot chocolate into whipped cream — it’ll deflate everything instantly.
Give it a taste while it cools. That’s a necessary quality check, obviously.
Step 4: Whip the Cream
Pour your remaining 1 cup of cold heavy whipping cream into a large mixing bowl. Add 2 tablespoons of powdered sugar and 1 teaspoon of vanilla extract.
Using a hand mixer or a whisk, beat the cream on medium-high speed until stiff peaks form. This takes about 3–4 minutes with a hand mixer. Stiff peaks mean when you pull the beater out, the cream holds its shape and doesn’t droop.
Don’t over-whip — if it starts looking grainy or buttery, you’ve gone too far. Stop before that happens.
Step 5: Fold Chocolate Into Whipped Cream
Here’s the step most people rush — don’t. Take your cooled chocolate ganache and add it to the whipped cream. Use a rubber spatula to fold gently, not stir.
Folding means scooping from the bottom and turning it over slowly. This keeps the air in the whipped cream, which is what makes the mousse light and fluffy rather than dense. Keep folding until no white streaks remain and the mousse looks uniform, dark, and pillowy.
Add a small pinch of salt at this point. It sharpens the chocolate flavor in a way that’s hard to explain but easy to taste.
Step 6: Fill the Cups
Spoon or pipe the chocolate mousse into each prepared cup on top of the Oreo base. Fill each cup generously — roughly 3/4 full. You want a good mousse-to-crust ratio in every bite.
If you have a piping bag, use it for a cleaner, more polished look. If not, a spoon works perfectly well. Smooth the tops lightly with the back of your spoon.
Step 7: Chill and Set
Cover the cups loosely with plastic wrap and refrigerate for at least 2 hours. This allows the mousse to set fully and the flavors to deepen. Overnight chilling works even better — the mousse becomes firmer and more scoopable.
Don’t skip the chill time. Serving a runny mousse is a tragedy nobody deserves.
Step 8: Garnish Before Serving
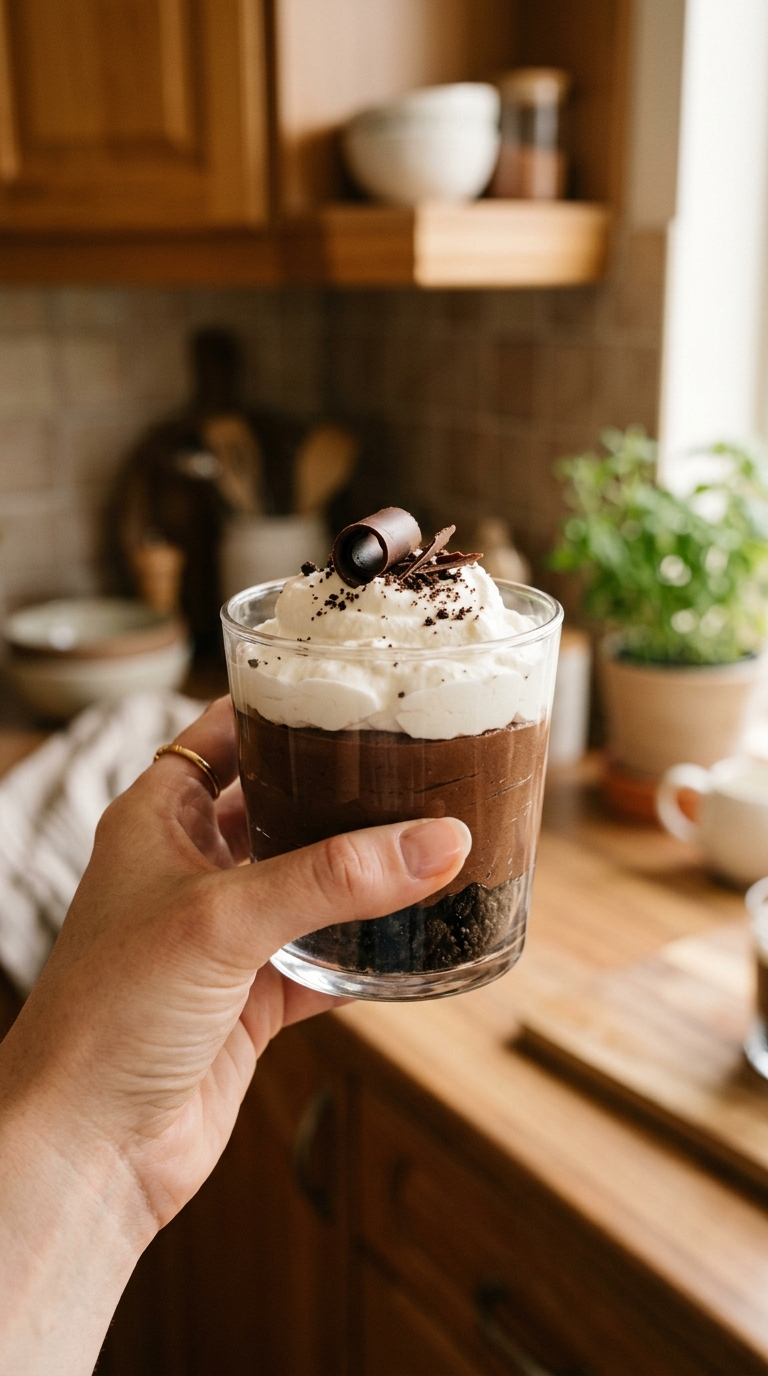
Right before serving, add a swirl of whipped cream on top of each cup. Sprinkle crushed Oreos or chocolate shavings over the whipped cream for that bakery-style finishing touch.
That little garnish takes 30 extra seconds and makes these cups look like you spent hours on them. Worth every second.
Tips For the Best Oreo Chocolate Mousse Cups
A few things I’ve learned the hard way — so you don’t have to:
- Use cold cream. Warm cream won’t whip properly. Keep it refrigerated until the moment you use it.
- Cool the ganache fully. If the chocolate is even slightly warm when folded in, it deflates the mousse.
- Don’t over-mix when folding. Less is more — stop as soon as it looks combined.
- Use quality chocolate. The mousse is simple, so the chocolate flavor carries everything. Better chocolate = better mousse.
- Make ahead. These cups actually taste better the next day once everything melds together in the fridge.
Can You Customize This Recipe?
Absolutely. Have you ever thought about how many directions you can take a basic mousse cup? The possibilities are genuinely fun.
Easy variations worth trying:
- Swap semi-sweet chocolate for dark chocolate (70%) for a more intense, grown-up flavor
- Use Golden Oreos for a white chocolate mousse version — surprisingly delicious
- Add a layer of fresh raspberries or sliced strawberries between the crust and mousse
- Mix a tablespoon of espresso powder into the ganache for a mocha version
- Top with caramel drizzle and sea salt for a salted caramel chocolate situation
FYI — the raspberry version is my personal favorite. The tartness cuts through the richness perfectly.
Storing Your Mousse Cups
These cups store beautifully in the fridge. Cover them tightly with plastic wrap and they’ll stay fresh for up to 3 days. The mousse holds its texture well, and the Oreo base stays firm enough to enjoy.
Freezing is also an option — freeze uncovered for an hour, then wrap tightly. They keep frozen for up to 2 weeks. Let them thaw in the fridge for 30–40 minutes before serving.
The Easiest Chocolate Mousse Cups You’ll Ever Make
12
servings30
minutes30
minutes300
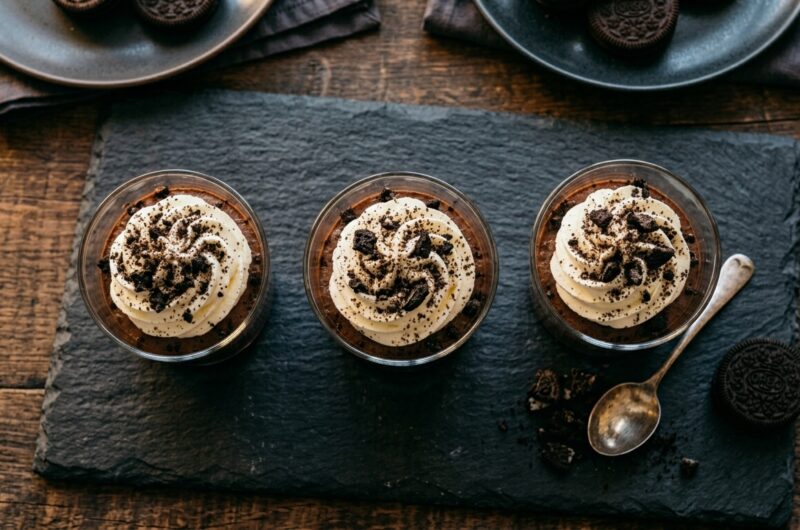
kcalThese Oreo Chocolate Mousse Cups are a no-bake dessert with a buttery crushed Oreo base and light, silky chocolate mousse on top. Made with heavy cream, melted chocolate, and vanilla, they chill in 2 hours and serve 6. Easy, elegant, and genuinely hard to stop eating.
Ingredients
Oreo Crust:
20 Oreo cookies (2 cups crushed)
3 tablespoons unsalted butter, melted
Chocolate Mousse:
1 cup semi-sweet chocolate chips
1½ cups heavy whipping cream (divided)
2 tablespoons powdered sugar
1 teaspoon vanilla extract
1 pinch of salt
Toppings:
Whipped cream
2–3 crushed Oreos
Chocolate shavings or mini chips
Directions
- Crush 20 Oreos into fine crumbs; mix with melted butter
- Press mixture into bottoms of 6 cups
- Melt chocolate chips with ½ cup cream; cool 10 minutes
- Whip remaining 1 cup cream with sugar and vanilla to stiff peaks
- Fold cooled chocolate into whipped cream gently
- Add a pinch of salt; fold until fully combined
- Spoon mousse into cups over Oreo base
- Refrigerate at least 2 hours to set
- Garnish with whipped cream and crushed Oreos before serving
Frequently Asked Questions
Q1: Can I make Oreo Chocolate Mousse Cups without heavy cream?
Heavy cream is key to getting that airy, whipped texture. You can use coconut cream as a dairy-free substitute — chill a can overnight, scoop out the solid part, and whip it the same way. It works surprisingly well.
Q2: How far in advance can I make these cups?
You can make them up to 24 hours in advance. They actually taste better after a full night in the fridge. Just add the garnishes right before serving so the whipped cream stays fresh.
Q3: My mousse turned out dense — what went wrong?
Most likely the chocolate was still warm when you folded it in, or you over-mixed after folding. Both collapse the air in the whipped cream. Make sure the ganache cools fully — room temperature or slightly cooler — before combining.
Q4: Can I use milk chocolate instead of semi-sweet?
Yes, but the mousse will be noticeably sweeter and less intense. If you go that route, reduce the powdered sugar in the whipped cream by half so the whole thing doesn’t become overwhelmingly sweet.
Q5: Do I need to remove the Oreo filling before crushing?
Nope — keep the filling in. It actually helps bind the crumbs together with the butter and adds a nice creaminess to the base. Removing it is extra work with no real benefit.
Final Thoughts
Look, I’ve tried a lot of no-bake desserts over the years, and most of them make me feel like I settled. These Oreo Chocolate Mousse Cups never give me that feeling. They’re rich, they’re impressive, and they come together in under 25 minutes of actual work.
The hardest part is honestly waiting the 2 hours for them to set. Make them before you need them, garnish just before serving, and watch people assume you spent all day in the kitchen.
You didn’t. That’s your secret to keep.