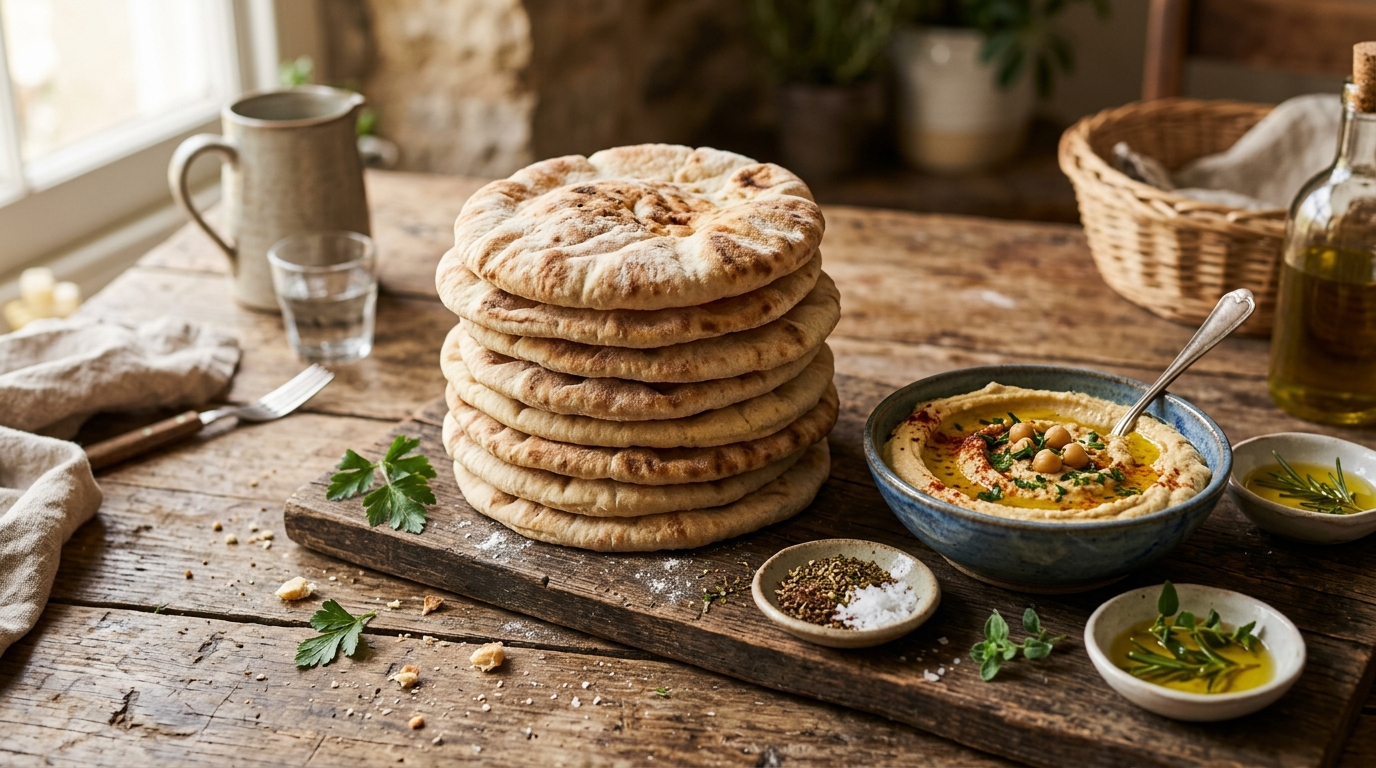
Homemade Pita Bread Easy and Delicious
Fresh Pita Bread changes everything. Store-bought pita works fine when life gets chaotic, but homemade pita tastes warmer, softer, and honestly way more impressive. Nothing beats watching those little bread rounds puff up in the oven like tiny balloons.
I started making this Pita Bread Recipe during a weekend cooking phase. You know the type. One minute you bake bread, and suddenly you act like a professional baker while covered in flour.
The best part? This recipe stays simple. You don’t need fancy equipment, rare ingredients, or magical bread powers from the internet.
Why Homemade Pita Bread Tastes Better
Fresh pita tastes softer and chewier than packaged versions. Homemade pita also develops those beautiful pockets perfect for stuffing.
That pocket matters more than people admit. Nobody enjoys filling bread only to watch ingredients explode onto the plate five seconds later.
This recipe gives you:
- Soft texture
- Puffy pockets
- Golden brown spots
- Flexible bread for wraps and sandwiches
- A simple process beginners can follow
Plus, your kitchen smells amazing while baking. That alone feels worth the effort.
Recipe Details
- Preparation Time: 20 minutes
- Resting Time: 1 hour 30 minutes
- Cooking Time: 15 minutes
- Total Time: About 2 hours 5 minutes
- Servings: 8 pita breads
Ingredients for Pita Bread Recipe
Here’s everything you need.
Main Ingredients
- 3 cups all-purpose flour
- 1 cup warm water
- 2 teaspoons instant yeast
- 1 teaspoon sugar
- 1 teaspoon salt
- 2 tablespoons olive oil
Optional Ingredients
- Extra flour for dusting
- Olive oil for brushing
- Sesame seeds for topping
Simple ingredients create incredible bread. Funny how flour, water, and patience can outperform expensive bakery bread sometimes.
Why This Recipe Works
The warm water activates the yeast properly. The olive oil keeps the bread soft. Resting time helps gluten develop so the dough stretches easily.
Have you ever wondered why some pita breads puff beautifully while others stay flat like sad tortillas? Heat and dough moisture make the biggest difference.
A super hot oven creates steam quickly inside the dough. That steam forms the famous pita pocket.
How to Make Pita Bread Step by Step
Step 1: Activate the Yeast
Pour warm water into a large bowl.
Add sugar and yeast. Stir gently and let the mixture sit for 5–10 minutes.
The yeast should become foamy on top. If nothing happens, your yeast probably retired early.
Fresh yeast matters a lot for successful Homemade Pita Bread.
Step 2: Mix the Dough
Add olive oil and salt into the bowl.
Slowly mix in flour one cup at a time. Stir until a rough dough forms.
The dough should feel slightly sticky but manageable. Avoid adding too much flour too early because dry dough creates stiff pita bread.
Step 3: Knead the Dough Properly
Transfer the dough onto a lightly floured surface.
Knead for 8–10 minutes until smooth and elastic.
Push the dough forward using your palms, then fold it back repeatedly. This step strengthens gluten and helps the pita puff later.
Honestly, kneading dough feels oddly relaxing after stressful days.
Step 4: Let the Dough Rise
Place the dough into a lightly oiled bowl.
Cover it with a towel or plastic wrap. Let it rise in a warm place for about 1 hour.
The dough should double in size. Watching bread dough grow still feels slightly magical, not gonna lie 🙂
Step 5: Divide the Dough
Punch down the risen dough gently.
Divide it into 8 equal pieces. Roll each piece into a smooth ball.
Cover the dough balls with a towel and let them rest for 15 minutes. This short rest relaxes the gluten and makes rolling easier.
Step 6: Roll Out the Pita
Flatten each dough ball using a rolling pin.
Roll them into circles about 6 inches wide and ¼ inch thick.
Keep thickness even across the dough. Uneven spots prevent proper puffing.
Many beginner bakers press too hard here. Relax. The dough isn’t plotting against you.
Step 7: Preheat the Oven Correctly
Heat your oven to 475°F (245°C).
Place a baking stone or inverted baking tray inside while preheating. A hot surface helps the pita puff quickly.
High heat creates steam fast. Steam creates pockets. Bread science actually feels useful sometimes.
Step 8: Bake the Pita Bread
Place 2–3 rolled pita rounds onto the hot tray.
Bake for 2–3 minutes until fully puffed.
The pita should balloon dramatically. Some breads puff halfway, some puff fully, and some behave rebelliously for no reason at all.
Flip and bake another minute if you want extra color.
Step 9: Keep the Bread Soft
Transfer baked pita into a clean towel immediately.
Covering the bread traps steam and keeps it soft.
Fresh pita dries quickly if exposed to air too long. Nobody wants crunchy pita unless making chips.

Tips for Perfect Pita Bread Every Time
Small adjustments improve results instantly.
Helpful Tips
- Use warm water, not hot water
- Keep the oven extremely hot
- Roll dough evenly
- Avoid over-flouring surfaces
- Cover baked pita immediately
These tiny details separate fluffy pita from dense disappointment.
Why Homemade Pita Bread Beats Store-Bought
Store-bought pita often feels dry and stiff.
Fresh homemade pita bends easily without cracking. It tastes richer and smells incredible straight from the oven.
Plus, homemade bread contains fewer preservatives. Your bread shouldn’t sound like a chemistry experiment when reading the label.
Best Ways to Serve Pita Bread
Fresh pita works with countless meals.
Popular Serving Ideas
- Chicken shawarma wraps
- Falafel sandwiches
- Hummus dipping bread
- Grilled veggie wraps
- Gyro sandwiches
- Breakfast egg pockets
These ideas make this recipe perfect for anyone searching for Pita Bread Meals or easy lunch inspiration.
Delicious Pita Filling Ideas
The filling possibilities feel endless.
Favorite Pita Bread Fillings
- Grilled chicken with garlic sauce
- Falafel and tahini
- Greek salad with feta
- Spicy lamb and onions
- Scrambled eggs and cheese
- Roasted vegetables with hummus
I personally love crispy chicken with spicy yogurt sauce. Messy? Absolutely. Worth it? Every single time.
Pita Bread Sandwich Ideas for Quick Meals
Busy days need simple meals.
That’s where Pita Bread Sandwich Ideas become lifesavers. Stuff pita with leftovers, fresh vegetables, or grilled meat for fast lunches.
These sandwiches stay portable and filling without requiring complicated prep. FYI, pita also handles sauces better than regular sandwich bread.
Greek Pita Bread vs Regular Pita Bread
Many people confuse the two.
Greek Pita Bread
Greek Pita Bread usually stays thicker and softer without a large pocket.
Traditional Pita Bread
Classic pita forms a hollow pocket perfect for stuffing.
Both taste amazing, but traditional pita works better for stuffed sandwiches.
If you enjoy Greek Bread Recipes, try brushing warm pita with olive oil and herbs.
Easy Variations You Can Try
This recipe adapts easily.
Whole Wheat Pita
Replace half the flour with whole wheat flour for nuttier flavor.
Garlic Herb Pita
Add garlic powder, oregano, or parsley into the dough.
Cheesy Pita
Sprinkle cheese over pita before baking for extra flavor.
These small changes create exciting new Pita Recipes without much extra work.
Common Mistakes to Avoid
Even simple bread recipes can fail sometimes.
Avoid These Problems
- Using cold water
- Baking in a cool oven
- Rolling uneven dough
- Skipping resting time
- Adding too much flour
Most pita failures come from rushing. Bread notices impatience immediately.
Storing Homemade Pita Bread
Store pita in an airtight bag at room temperature for 2 days.
You can refrigerate it for up to 5 days.
Freeze pita for up to 2 months if needed. Reheat gently in a skillet or oven before serving.
Fresh pita freezes surprisingly well. Bread magic strikes again.
Healthy Benefits of Pita Bread
Pita bread offers lighter texture than many dense breads.
It pairs well with lean proteins, vegetables, and healthy spreads.
That balance makes it popular in Mediterranean meals and healthy lunch ideas.
You can also use whole wheat flour for extra fiber and nutrients.
Why Beginners Love This Recipe
This recipe stays forgiving and beginner-friendly.
Unlike complicated artisan breads, pita requires simple shaping and quick baking.
Even imperfect pita tastes fantastic. Ugly bread still disappears quickly at dinner tables.
Homemade Bread Recipes Easy Enough for Anyone
Many people fear homemade bread because they expect bakery-level complexity.
This recipe proves otherwise.
If you enjoy Easy Bread Recipes or beginner baking projects, pita offers a great starting point. The dough stays manageable, and the results feel rewarding fast.
Pita Bread Around the World
Many cultures enjoy versions of pita bread.
Middle Eastern, Mediterranean, and Greek cuisines all use flatbreads differently.
That versatility explains why searches for Recetas De Pan and global bread recipes continue growing online.
Bread connects people everywhere. Also carbs make humans happier. Probably scientific.
Pairing Pita Bread With Dips and Sauces
Fresh pita loves flavorful dips.
Best Dip Pairings
- Hummus
- Tzatziki
- Baba ganoush
- Garlic yogurt sauce
- Spicy feta dip
Warm pita with creamy dip creates dangerously addictive snacking.
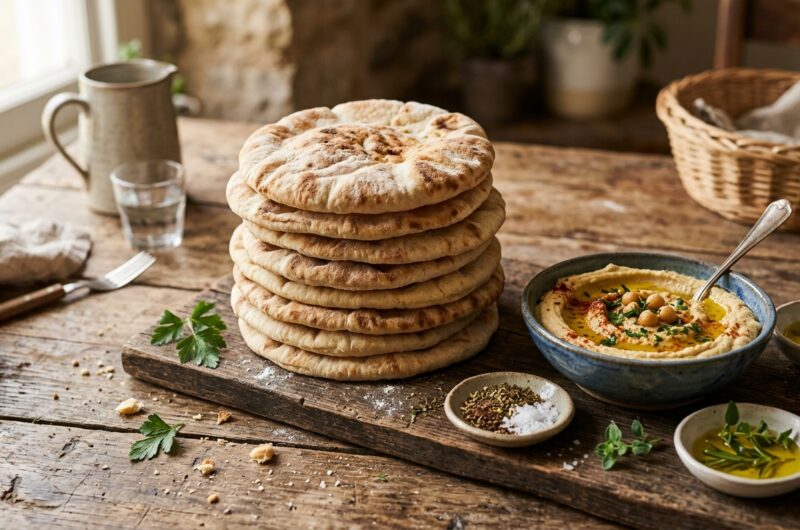
Homemade Pita Bread Easy and Delicious
4
servings30
minutes40
minutes300
kcalThis homemade Pita Bread Recipe creates soft, fluffy, pocket-style bread perfect for wraps, sandwiches, dips, and Mediterranean meals. The recipe uses simple pantry ingredients, beginner-friendly steps, and high-heat baking for perfect puffed pita every time. Fresh homemade pita tastes softer, warmer, and far better than store-bought versions.
Ingredients
3 cups all-purpose flour
1 cup warm water
2 teaspoons instant yeast
1 teaspoon sugar
1 teaspoon salt
2 tablespoons olive oil
Optional Ingredients
Extra flour for dusting
Olive oil for brushing
Sesame seeds for topping
Directions
- Activate yeast in warm water.
- Mix dough ingredients together.
- Knead until smooth.
- Let dough rise.
- Divide and roll dough.
- Bake in hot oven.
- Cover warm pita with towel.
- Serve fresh.
FAQ About Pita Bread Recipe
1. Why didn’t my pita bread puff up?
Your oven likely wasn’t hot enough, or the dough rolled unevenly.
2. Can I make pita bread without yeast?
Yes, but yeast creates softer texture and better puffing.
3. Can I freeze homemade pita bread?
Absolutely. Freeze cooled pita in airtight bags for up to 2 months.
4. What flour works best for pita bread?
All-purpose flour works best for soft, fluffy pita.
5. How do I keep pita bread soft?
Wrap warm pita in a towel immediately after baking.
6. Can I cook pita on a skillet?
Yes. A hot skillet creates excellent puffed pita bread.
7. Is pita bread healthy?
Yes, especially when paired with healthy fillings and whole wheat flour.
Final Thoughts on This Pita Bread Recipe
This Pita Bread Recipe proves homemade bread doesn’t need to feel intimidating. The ingredients stay simple, the process feels approachable, and the results taste incredible.
Fresh pita transforms ordinary meals into something special. Whether you stuff it, dip it, or snack on it warm from the towel, homemade pita delivers comfort every single time.
So grab some flour, heat the oven, and enjoy the process. Worst case scenario? You still end up with warm bread, which honestly sounds pretty great.