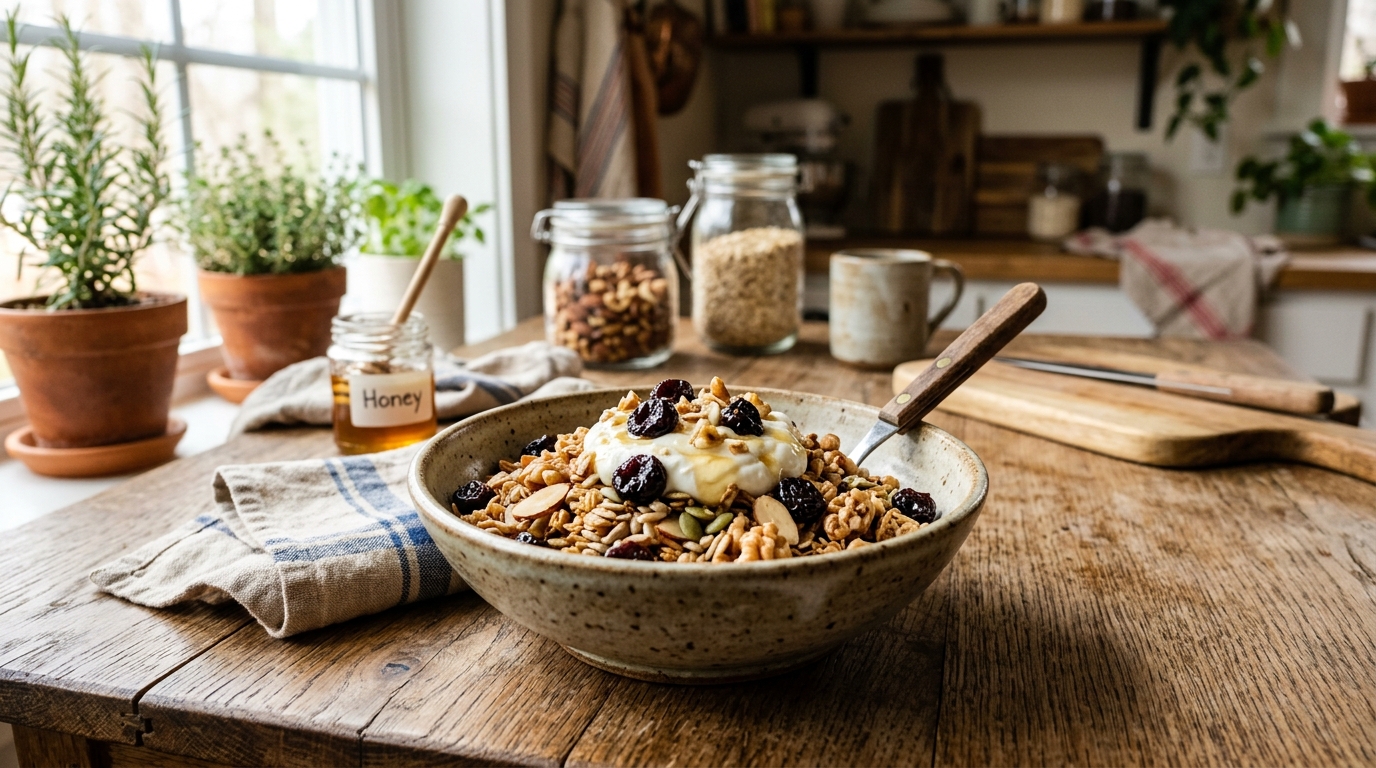
Crunchy Homemade Granola You’ll Actually Love
Ever grabbed a store-bought granola pack and thought, “Why does this taste like cardboard with sugar?” Yeah, same. I started making my own granola recipe recipe years ago, and honestly, I never looked back. Want to know why?
Because homemade granola actually tastes like real food. You control everything—sweetness, crunch, and all those fun add-ins. Plus, your kitchen smells incredible. Win-win, right?
Why You’ll Love This Granola Recipe
Let me be real with you. This isn’t just another healthy granola recipe floating online. This one actually works, tastes amazing, and doesn’t require a culinary degree.
You get a crunchy texture, balanced sweetness, and endless customization. What more could you want?
Key Benefits
- Customizable flavors – sweet, nutty, fruity, or all three
- Budget-friendly – cheaper than premium store brands
- Healthier ingredients – no weird preservatives
- Perfect for meal prep – stays fresh for weeks
Ever wondered why homemade tastes better? Because you don’t cut corners.
Ingredients You’ll Need (With Quantities)
Here’s what you need for this homemade nutty granola. Nothing fancy, just solid pantry staples.
- 3 cups rolled oats
- 1 cup almonds (chopped)
- 1/2 cup pistachios
- 1/2 cup walnuts
- 1/3 cup honey or maple syrup
- 1/4 cup coconut oil (melted)
- 1 teaspoon vanilla extract
- 1/2 teaspoon cinnamon
- 1/4 teaspoon salt
- 1/2 cup dried cherries
- 1/2 cup raisins or cranberries
This mix creates a perfect homemade granola with nuts and fruits combo. Simple, right?
Servings and Prep Time
- Servings: 6–8 portions
- Prep Time: 10 minutes
- Cook Time: 25–30 minutes
So yeah, you can literally make this before your next Netflix episode ends. Not bad.
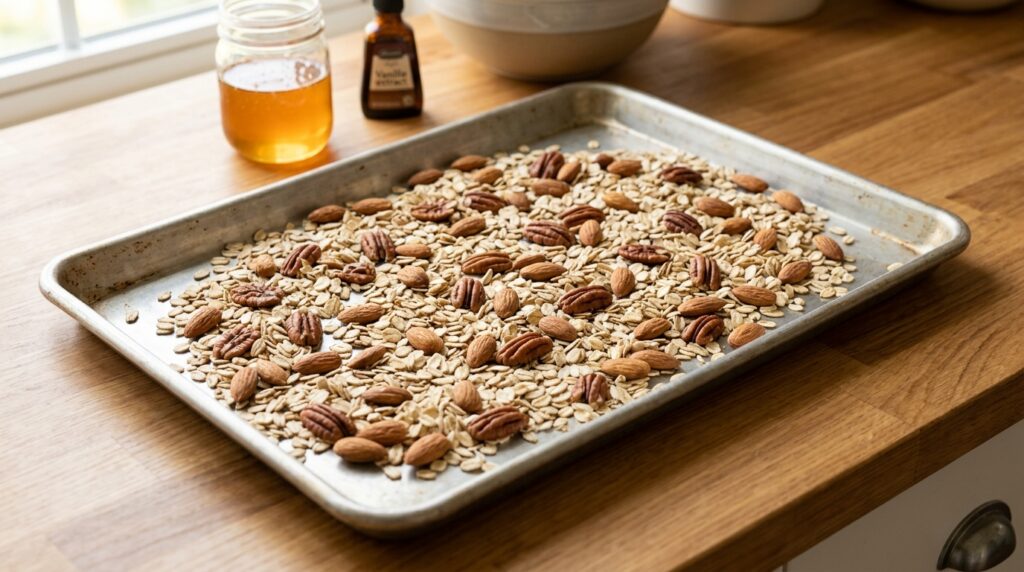
How To Make Granola At Home
Alright, let’s get into the good part. This is where the magic happens.
Step 1: Preheat and Prep
Preheat your oven to 325°F (160°C). Line a baking tray with parchment paper.
Why parchment? Because scrubbing burnt honey later isn’t fun. Trust me.
Step 2: Mix Dry Ingredients
Grab a large bowl and toss in:
- Rolled oats
- Almonds
- Pistachios
- Walnuts
- Cinnamon
- Salt
Mix everything well so flavors spread evenly. You don’t want one bite bland and the next overloaded.
Step 3: Add Wet Ingredients
In another bowl, combine:
- Melted coconut oil
- Honey or maple syrup
- Vanilla extract
Stir until smooth. Then pour it over your dry mix.
Now mix everything thoroughly. Every oat should get coated. No lazy mixing here.
Step 4: Spread Evenly
Spread the mixture onto your baking tray in an even layer.
Don’t pile it up. Thin layers help it bake evenly and get that golden crunch.
Step 5: Bake to Perfection
Bake for 25–30 minutes, stirring halfway through.
Want chunky granola clusters? Press it down gently halfway and don’t over-stir.
Golden brown equals done. Burnt equals… well, disappointment.
Step 6: Add Fruits
Once out of the oven, let it cool completely.
Then mix in:
- Dried cherries
- Raisins or cranberries
This step turns it into a granola with dried cherries masterpiece.
Flavor Twist: Pistachio Cherry Granola Recipe
Feeling fancy? Try this variation.
Swap almonds for extra pistachios and double the dried cherries. Boom—you’ve got a pistachio cherry granola recipe that tastes like a gourmet snack.
IMO, this version feels slightly luxurious. Like something you’d brag about casually.
Tips for Perfect Granola Every Time
Let’s avoid rookie mistakes, yeah?
Pro Tips
- Don’t skip salt – it balances sweetness
- Use rolled oats – quick oats turn mushy
- Cool completely before storing – keeps crunch intact
- Store in airtight jars – freshness matters
Ever made soggy granola? Yeah, it hurts.
Breakfast Ideas With Granola
Now comes the fun part—eating it.
This recipe with granola works in so many ways.
Easy Breakfast Ideas
- Yogurt + granola + honey drizzle
- Milk + granola like cereal
- Smoothie bowl topping
- Peanut butter banana granola toast
Honestly, I sometimes eat it straight from the jar. No shame 🙂
Healthy vs Store-Bought Granola
Let’s compare quickly.
Homemade Granola
- No preservatives
- Custom sugar levels
- Fresh ingredients
Store-Bought Granola
- Often high sugar
- Contains additives
- Less fresh taste
So yeah, which one sounds better? Exactly.
Storage and Shelf Life
You worked hard. Let’s keep it fresh.
Store your homemade granola with fruits in an airtight container at room temperature.
- Lasts 2–3 weeks
- Keep away from moisture
- Use glass jars for best results
If it loses crunch, reheat it briefly. Problem solved.
Common Mistakes to Avoid
We all mess up sometimes. But you don’t have to.
Avoid These
- Overbaking – turns bitter
- Too much liquid – makes it soggy
- Skipping mixing – uneven flavor
- Adding fruits before baking – they burn
Simple fixes, big difference.
Why This Healthy Granola Recipe Works
This recipe balances texture, sweetness, and nutrition perfectly.
You get fiber from oats, healthy fats from nuts, and natural sweetness from fruits.
Plus, you avoid hidden sugars. That’s a big deal.
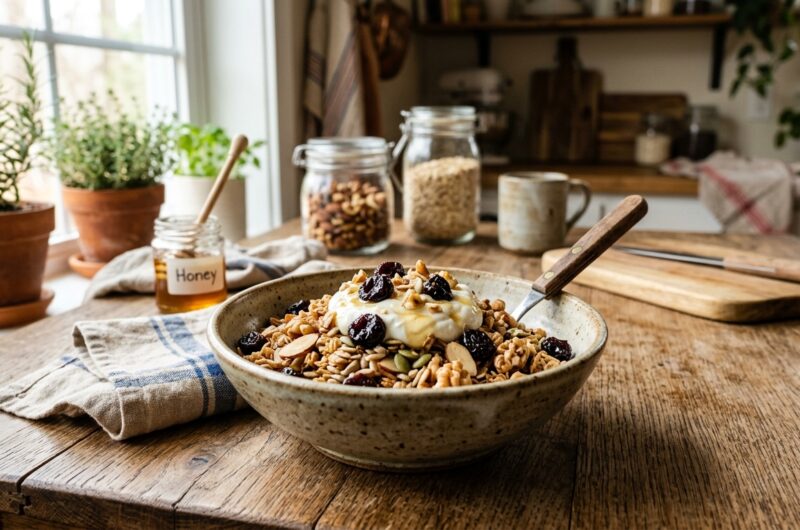
Crunchy Homemade Granola You’ll Actually Love
4
servings30
minutes40
minutes300
kcalThis homemade granola recipe combines oats, nuts, and dried fruits for a crunchy, healthy breakfast. Mix ingredients, bake until golden, and enjoy versatile serving options. It’s customizable, budget-friendly, and fresher than store-bought. Perfect for meal prep and daily use with yogurt, milk, or smoothies.
Ingredients
Ingredients List (Quick View)
Rolled oats
Almonds
Pistachios
Walnuts
Honey or maple syrup
Coconut oil
Vanilla extract
Cinnamon
Salt
Dried cherries
Raisins or cranberries
Directions
- Making Process (Quick Steps)
- Preheat oven
- Mix dry ingredients
- Add wet ingredients
- Spread on tray
- Bake and stir halfway
- Cool completely
- Add dried fruits
- Store and enjoy
FAQs About Granola Recipe
1. Can I make granola without nuts?
Yes, you can skip nuts and add seeds like sunflower or pumpkin instead.
2. How do I make my granola crunchy?
Bake evenly and let it cool completely without stirring too much.
3. Can I use quick oats?
You can, but they won’t give that crunchy texture. Stick with rolled oats.
4. Is granola healthy for weight loss?
It can be if you control portions and sugar levels.
5. Can I freeze homemade granola?
Yes, you can freeze it for up to 3 months in airtight bags.
6. Why is my granola not clumping?
You probably stirred too much or didn’t add enough binding liquid.
Final Thoughts
So there you have it—your go-to granola recipe recipe that actually delivers.
You get flavor, crunch, and total control over ingredients. Plus, it’s fun to make.
Next time you reach for store-bought granola, pause and think—do you really want that? Or do you want something way better?
Go make this. Your future breakfast self will thank you.