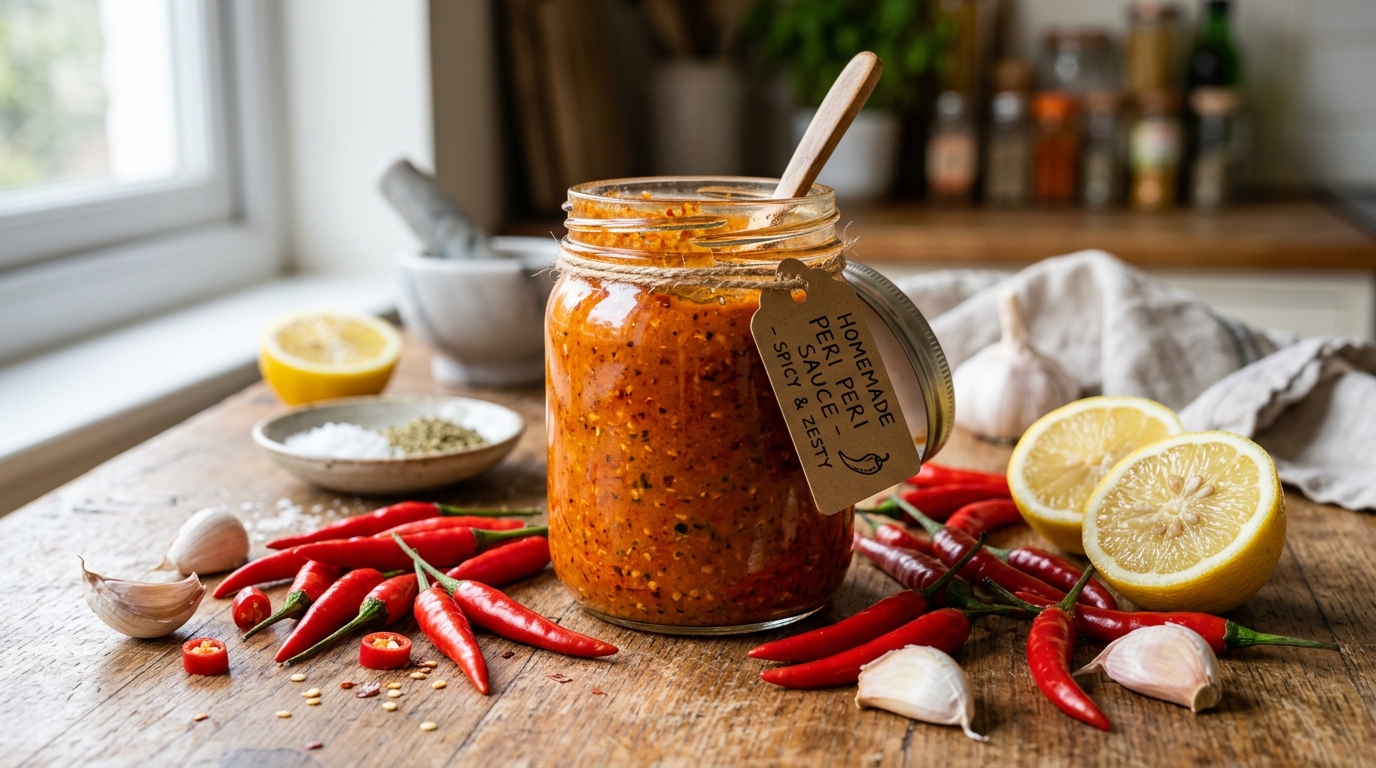
Authentic Homemade Peri Peri Sauce
Want to make a Peri Peri Sauce recipe that tastes better than most store-bought bottles? You’re in the right place.
I love homemade peri peri sauce because I can control the heat, freshness, and flavor. Plus, it takes surprisingly little effort. Why settle for a bland sauce when you can create a bold, fiery version in your own kitchen?
This recipe delivers the perfect balance of spice, tanginess, garlic, and smoky goodness. Whether you drizzle it over chicken, use it as a dip, or spread it on sandwiches, this sauce brings serious flavor to the table.
What Is Peri Peri Sauce?
Peri peri sauce, sometimes called piri piri sauce, comes from African and Portuguese culinary traditions. The sauce gets its signature heat from chili peppers and combines them with garlic, citrus, herbs, and oil.
The result? A sauce that wakes up almost any meal.
Have you ever tasted a sauce that feels spicy, tangy, smoky, and fresh all at once? That’s exactly why people love peri peri sauce.
Why You’ll Love This Peri Peri Sauce Recipe
I keep coming back to this recipe because it works with almost everything.
Key benefits include:
- Bold and spicy flavor
- Easy preparation
- Simple ingredients
- Customizable heat level
- Great for marinating and dipping
- Better freshness than bottled versions
IMO, homemade peri peri sauce always tastes more vibrant than store-bought options.
Peri Peri Sauce Ingredients
This recipe makes approximately 2 cups of sauce.
Ingredient List
- 10 red chili peppers (about 150g)
- 6 garlic cloves
- 1 medium red bell pepper, chopped
- 1/4 cup lemon juice (60ml)
- 2 tablespoons white vinegar (30ml)
- 1 teaspoon smoked paprika
- 1 teaspoon dried oregano
- 1 teaspoon salt
- 1/2 teaspoon black pepper
- 1 teaspoon sugar
- 1/2 cup olive oil (120ml)
Optional Ingredients
Want extra flavor?
Try adding:
- 1 teaspoon chili flakes
- 1 tablespoon roasted onion
- 1 teaspoon cayenne pepper
- 1 tablespoon fresh parsley
These additions create extra layers of flavor without making the recipe complicated.
Recipe Information
Servings: 16 servings
Preparation Time: 15 minutes
Cooking Time: 15 minutes
Total Time: 30 minutes
Yield: About 2 cups
Choosing the Best Peppers
Fresh Chilies vs Dried Chilies
Fresh chilies create a brighter flavor. Dried chilies create deeper heat.
I usually choose fresh red chilies because they give the sauce a vibrant color and fresher taste.
Adjusting the Heat
Not everyone wants their mouth to feel like a volcano erupted during lunch.
For milder sauce:
- Remove seeds
- Use fewer chilies
- Add extra bell pepper
For hotter sauce:
- Keep seeds intact
- Add cayenne pepper
- Use hotter chili varieties
The beauty of homemade peri peri sauce lies in customization.
How to Make Peri Peri Sauce
Step 1: Prepare the Vegetables
Wash all vegetables thoroughly.
Remove the stems from the chili peppers.
Chop the bell pepper into chunks.
Peel the garlic cloves.
Keep everything ready before cooking. This small step makes the process much smoother.
Step 2: Roast the Vegetables
Heat a skillet over medium heat.
Add the chili peppers, bell pepper, and garlic.
Roast them for about 8 to 10 minutes.
Turn the vegetables occasionally.
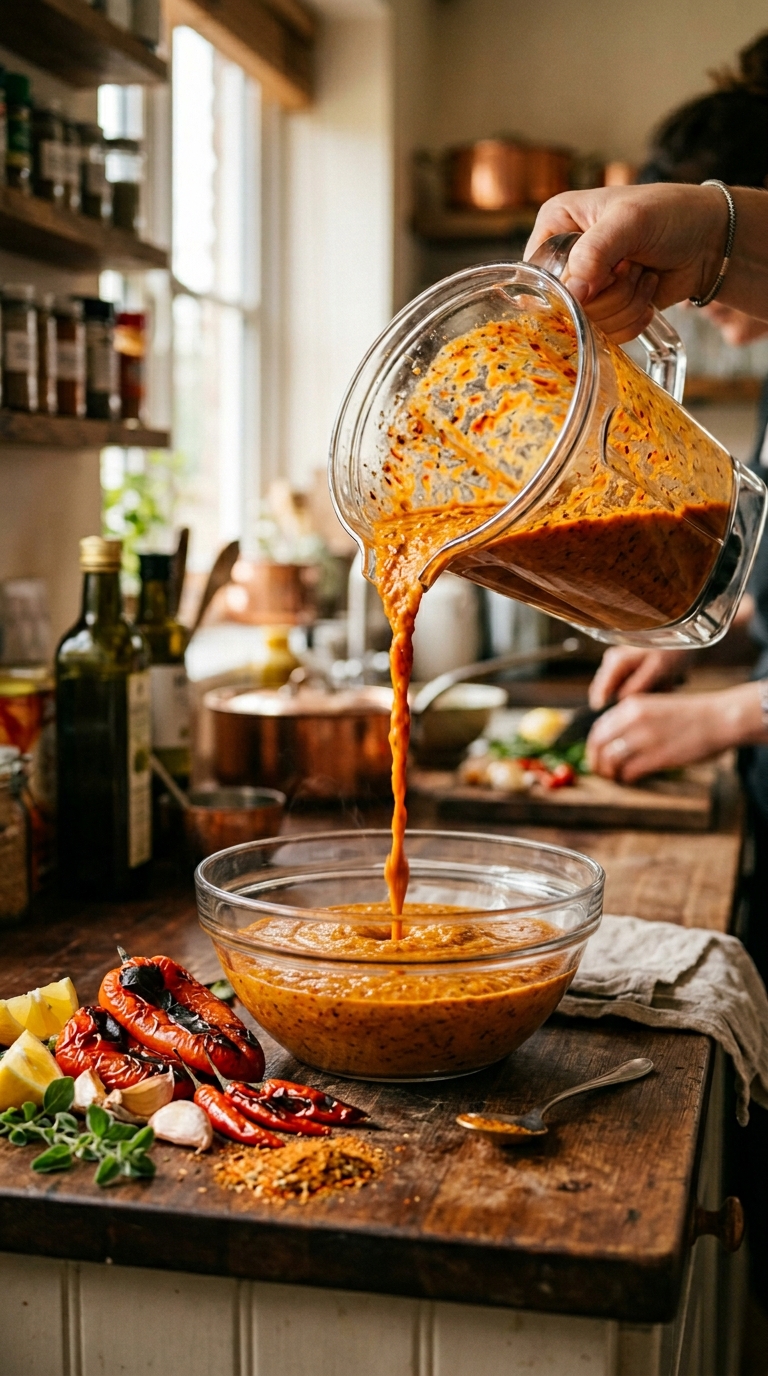
The peppers should develop slight char marks. Those dark spots create deeper flavor and subtle smokiness.
Whenever I skip this step, I immediately notice the difference. The sauce loses some of its personality.
Step 3: Cool the Ingredients
Transfer the roasted vegetables to a plate.
Allow them to cool for five minutes.
Cooling helps protect the texture and flavor during blending.
It also prevents accidental kitchen adventures involving hot peppers and flying blender lids. Nobody needs that kind of excitement.
Step 4: Add Everything to a Blender
Place the roasted vegetables into a blender.
Add:
- Lemon juice
- Vinegar
- Smoked paprika
- Oregano
- Salt
- Black pepper
- Sugar
Pour in half of the olive oil.
This combination creates the classic peri peri flavor profile.
Step 5: Blend Until Smooth
Blend the mixture for one to two minutes.
Scrape down the sides if necessary.
Continue blending until the sauce becomes smooth.
You can leave it slightly chunky if you prefer a rustic texture.
I usually blend mine until silky smooth because it spreads more evenly on grilled chicken.
Step 6: Add Remaining Olive Oil
Slowly pour in the remaining olive oil while blending.
The oil helps emulsify the sauce.
This process creates a richer texture and smoother consistency.
Watch the color transform into a beautiful deep orange-red shade.
Step 7: Taste and Adjust
Taste the sauce carefully.
Adjust according to your preference.
Need more tang?
Add extra lemon juice.
Need more heat?
Add chili flakes.
Need balance?
Add a tiny pinch of sugar.
This step allows you to create your perfect version.
Step 8: Let the Flavors Develop
Transfer the sauce to a clean jar.
Refrigerate for at least two hours.
Overnight refrigeration works even better.
Have you ever noticed how some foods taste better the next day? Peri peri sauce definitely belongs in that category.
Tips for the Best Peri Peri Sauce
Use Fresh Ingredients
Fresh garlic and fresh chilies create stronger flavors.
Old ingredients often produce dull results.
Don’t Skip Roasting
Roasting adds depth and complexity.
Without roasting, the sauce tastes flatter.
Balance Acid and Heat
The lemon juice and vinegar balance the spicy peppers.
Too much heat can overpower everything else.
Blend Thoroughly
A well-blended sauce creates a better texture.
Nobody enjoys surprise chunks of garlic in every bite.
Ways to Use Peri Peri Sauce
One reason I love this recipe involves versatility.
Chicken Marinade
Brush the sauce over chicken.
Marinate for at least four hours.
Grill, bake, or air fry.
The results taste incredible.
French Fries
Use peri peri sauce as a dipping sauce.
The spicy tang pairs perfectly with crispy fries.
Sandwich Spread
Spread a thin layer on burgers or sandwiches.
The flavor boost feels almost unfair.
Grilled Vegetables
Brush vegetables before grilling.
Bell peppers, zucchini, and mushrooms work especially well.
Rice Bowls
Add a spoonful to rice bowls.
The sauce instantly transforms a simple meal.

Homemade vs Store-Bought Peri Peri Sauce
Homemade Peri Peri Sauce
Pros
- Fresher flavor
- No unnecessary additives
- Adjustable spice level
- More affordable long-term
Store-Bought Peri Peri Sauce
Pros
- Convenient
- Ready to use
My Opinion
I keep a bottle of store-bought sauce for emergencies.
However, homemade peri peri sauce wins every flavor comparison in my kitchen.
The difference feels similar to comparing fresh lemonade with powdered drink mix.
Storage Instructions
Store the sauce in an airtight glass jar.
Keep it refrigerated.
The sauce stays fresh for up to 2 weeks.
For longer storage, freeze portions in ice cube trays.
Small frozen cubes make meal prep incredibly easy.
Common Mistakes to Avoid
Using Too Much Oil
Excess oil can dilute flavor.
Follow the measurements carefully.
Skipping the Resting Time
Freshly blended sauce tastes good.
Rested sauce tastes much better.
Ignoring Taste Adjustments
Every batch of peppers differs.
Always taste and adjust before storing.
Overcooking the Garlic
Burned garlic creates bitterness.
Roast carefully and monitor closely.
Nutritional Benefits
This homemade peri peri sauce contains ingredients that offer nutritional value.
Benefits include:
- Vitamin C from peppers
- Antioxidants from garlic
- Healthy fats from olive oil
- Natural flavor without artificial additives
That doesn’t mean you should drink a whole jar, though. Trust me, your taste buds may cheer, but your stomach might file a complaint.
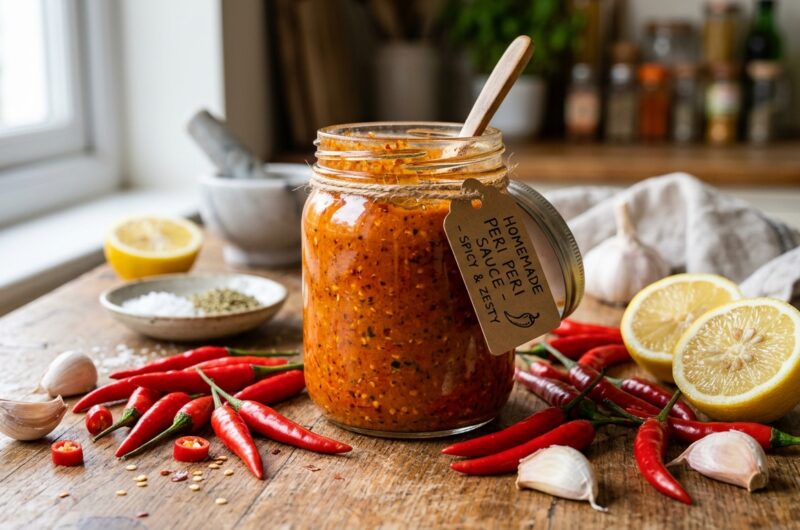
Authentic Homemade Peri Peri Sauce
Course: Sauce u0026amp; Salad4
servings30
minutes40
minutes300
kcalThis homemade peri peri sauce recipe combines roasted chili peppers, garlic, lemon juice, vinegar, herbs, and olive oil for a bold, spicy flavor. It works perfectly as a marinade, dip, or sandwich spread. Easy to make in 30 minutes, customizable, and far more flavorful than most store-bought options.
Ingredients
10 red chili peppers
6 garlic cloves
1 red bell pepper
1/4 cup lemon juice
2 tbsp white vinegar
1 tsp smoked paprika
1 tsp dried oregano
1 tsp salt
1/2 tsp black pepper
1 tsp sugar
1/2 cup olive oil
Directions
- Wash and prepare vegetables.
- Roast chilies, garlic, and bell pepper.
- Cool ingredients slightly.
- Add vegetables and seasonings to blender.
- Blend until smooth.
- Slowly add olive oil while blending.
- Taste and adjust seasoning.
- Refrigerate for 2 hours before serving.
Frequently Asked Questions
1. What is peri peri sauce made of?
Peri peri sauce typically contains chili peppers, garlic, lemon juice, vinegar, herbs, spices, and olive oil.
2. How spicy is peri peri sauce?
The spice level varies depending on the peppers used. You can easily adjust the heat in homemade versions.
3. Can I freeze peri peri sauce?
Yes. Freeze it in airtight containers or ice cube trays for convenient portioning.
4. How long does homemade peri peri sauce last?
The sauce stays fresh in the refrigerator for about 2 weeks when stored properly.
5. Can I use peri peri sauce as a marinade?
Absolutely. It works exceptionally well with chicken, seafood, vegetables, and beef.
6. Which peppers work best for peri peri sauce?
Bird’s eye chilies traditionally work best, but red chilies also produce excellent results.
7. Is peri peri sauce healthy?
Yes. Homemade peri peri sauce contains fresh ingredients and avoids many preservatives found in commercial products.
Final Thoughts
This Peri Peri Sauce recipe combines heat, tang, and rich flavor in one easy homemade condiment. The ingredients stay simple, the preparation stays straightforward, and the results taste fantastic.
Whether you use it on grilled chicken, fries, sandwiches, or vegetables, this sauce adds excitement to every bite. Give it a try, tweak the spice level to your liking, and make it your own. FYI, once friends taste it, they may start requesting jars of it on a regular basis 🙂