How to Bake Bread Without a Bread Machine
Fresh bread changes the mood of an entire kitchen. One minute your house smells normal, and the next minute it smells like a bakery that charges $9 for a loaf with “artisan” slapped on the label. Honestly, homemade bread wins every time.
A lot of people think they need a bread machine to make decent bread. Nope. You absolutely don’t. You can bake amazing bread with basic ingredients, your hands, and a regular oven. That’s it. No expensive gadgets. No mysterious baking wizardry.
I started baking bread during a random weekend when I got tired of buying dry grocery store loaves that somehow tasted both bland and suspiciously sweet. After a few messy attempts—and one loaf that looked like a brick with emotional issues—I finally figured out the process.
So let’s make bread the old-school way. It’s easier than you think.
Why Bake Bread Without a Bread Machine?
Bread machines sound convenient, and sure, they save time. But hand-making bread gives you more control over texture, flavor, and crust.
Plus, kneading dough feels weirdly satisfying. Ever punched bread dough after a stressful day? Cheap therapy, honestly.
Benefits of Baking Bread by Hand
Here’s why many people skip the bread machine entirely:
- Better texture and crust
- More control over ingredients
- Fewer kitchen gadgets cluttering the counter
- Easier customization
- More authentic flavor
IMO, homemade bread tastes more personal too. You actually feel connected to the process instead of pressing a button and walking away.
Essential Ingredients for Homemade Bread
Good bread starts with simple ingredients. You probably already have most of them sitting in your kitchen.
The Basic Bread Ingredients
You need:
- Flour
- Water
- Yeast
- Salt
That’s the core formula. Bread sounds fancy, but it’s basically flour doing chemistry with water and yeast.
Choosing the Right Flour
Bread flour works best because it contains more protein. Higher protein creates stronger gluten, which gives bread structure and chewiness.
All-purpose flour still works fine though. I used all-purpose flour for months before switching. Your bread won’t explode dramatically if you use the wrong one 🙂
Active Dry Yeast vs Instant Yeast
Both types work well, but they behave slightly differently.
Active Dry Yeast
- Needs warm water activation
- Takes slightly longer to rise
Instant Yeast
- Mixes directly into flour
- Works faster
FYI, instant yeast makes life easier for beginners.
Tools You Actually Need
People overcomplicate bread baking with endless gadgets. You don’t need half that stuff.
Basic Bread Baking Tools
You only need:
- Large mixing bowl
- Measuring cups or kitchen scale
- Wooden spoon
- Baking tray or loaf pan
- Clean towel
That’s enough to make excellent bread.
Optional Tools That Help
These tools make things easier but aren’t mandatory:
- Dough scraper
- Dutch oven
- Stand mixer
- Bread lame or sharp knife
A Dutch oven creates an incredible crust, though. The first time I used one, I felt oddly proud of myself for like three straight days.
How to Make Bread Dough from Scratch
Bread dough sounds intimidating until you actually make it once.
Step 1: Activate the Yeast
Mix:
- 2¼ teaspoons yeast
- 1½ cups warm water
- 1 tablespoon sugar
Let it sit for 5–10 minutes.
You want the mixture to look foamy. If nothing happens, your yeast probably died. RIP little bread buddies.
Step 2: Add Flour and Salt
Add:
- 4 cups flour
- 1½ teaspoons salt
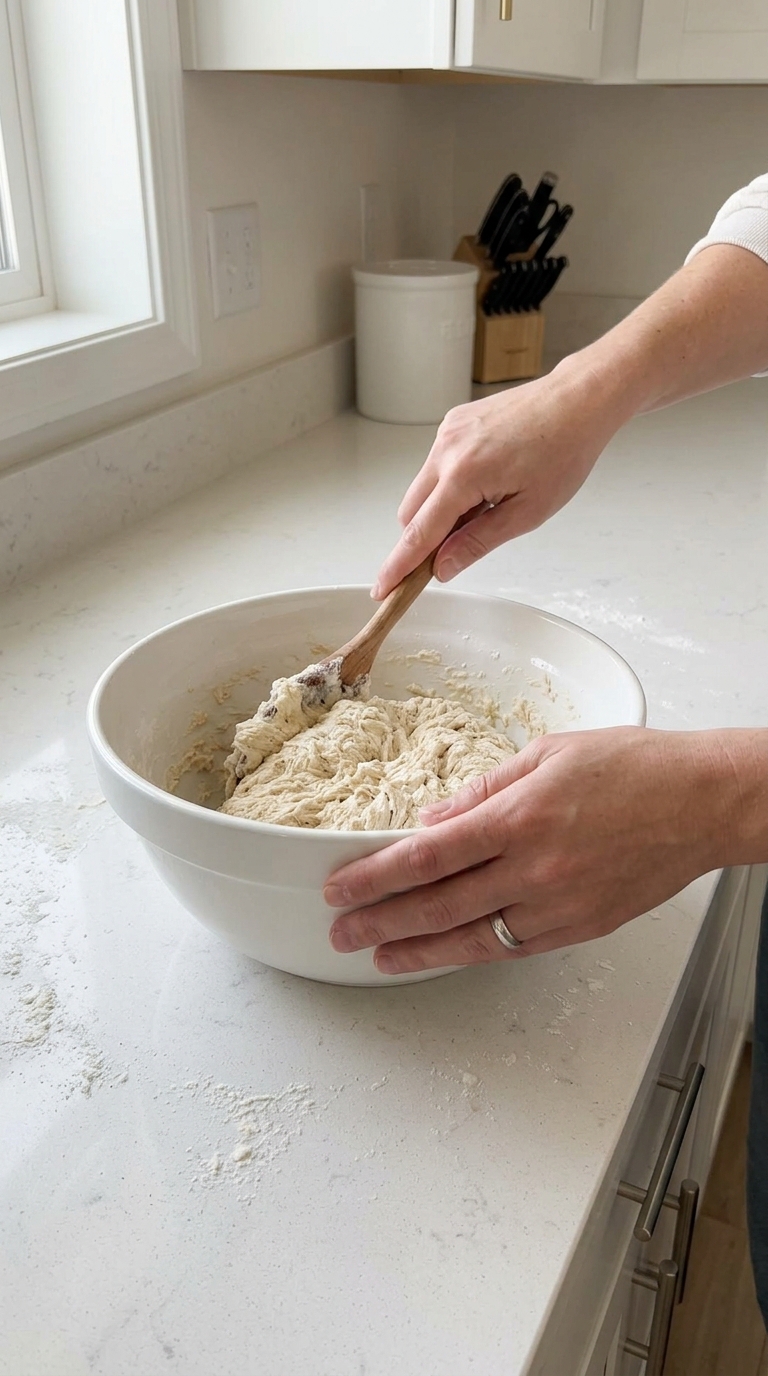
Mix until a shaggy dough forms.
The dough should look messy at first. That’s normal. Perfectly neat dough at this stage would honestly feel suspicious.
Step 3: Knead the Dough
Place the dough on a floured surface and knead for 8–10 minutes.
How to Knead Properly
Use this motion:
- Push dough forward
- Fold it back
- Rotate slightly
- Repeat
The dough becomes smoother over time. Ever noticed how bakers make kneading look relaxing? Your arms may disagree after minute six.
Step 4: First Rise
Place the dough in a lightly oiled bowl and cover it.
Let it rise for 1–2 hours until it doubles in size.
Warm environments help yeast grow faster. Cold kitchens slow everything down dramatically.
Why Dough Rising Matters
Rising develops flavor and texture.
Yeast creates gas bubbles, which make bread light and airy instead of dense and sad.
Signs Your Dough Has Risen Enough
Your dough should:
- Double in size
- Feel puffy
- Slowly spring back when poked
If the dough springs back instantly, let it rise longer.
Shaping the Bread
This part intimidates beginners, but shaping doesn’t need perfection.
Simple Loaf Shaping Method
- Flatten the dough gently
- Fold the sides inward
- Roll tightly
- Pinch the seams closed
That’s enough for a classic loaf.
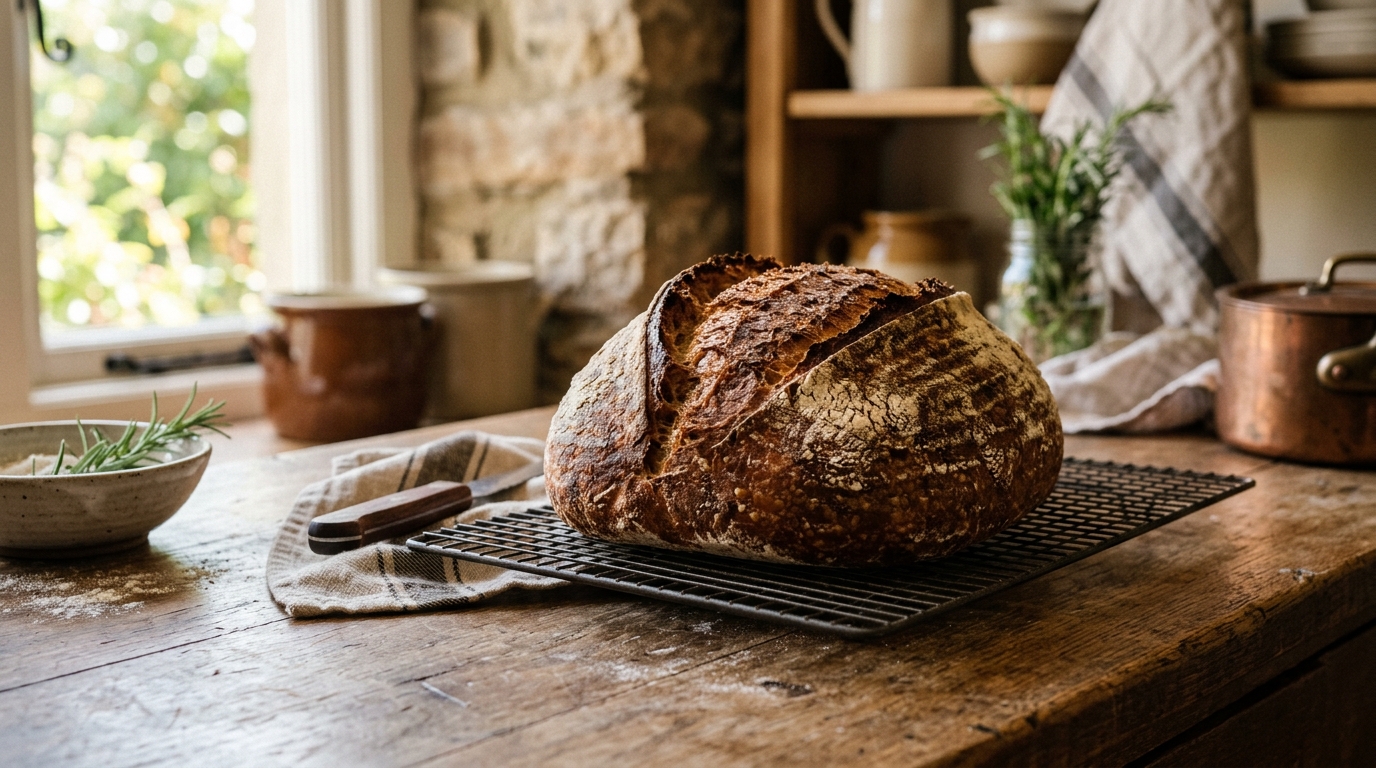
Rustic Round Loaf
Want bakery-style bread?
Shape the dough into a tight ball instead of a loaf. Rustic bread actually looks better with imperfections. Convenient, right?
The Second Rise Matters Too
A lot of beginners skip this step and then wonder why their bread feels heavy.
The second rise gives the dough:
- Better texture
- More airiness
- Improved flavor
Let shaped dough rise for 30–45 minutes before baking.
How to Bake Bread in the Oven
Now comes the fun part.
Best Temperature for Homemade Bread
Bake most bread at:
- 375°F to 450°F
Higher temperatures create better crusts.
Steam Creates Better Crust
Professional bakeries use steam ovens. You can fake the effect at home easily.
Easy Steam Trick
Place a metal pan on the oven’s bottom rack and pour hot water into it during preheating.
The steam helps create:
- Crispy crust
- Better rise
- Shinier bread
Science really loves bread.
How Long to Bake Bread
Most loaves bake for:
- 30–40 minutes
The bread should sound hollow when tapped underneath.
Golden brown equals delicious. Pale bread usually tastes underbaked and disappointing.
Common Bread Baking Mistakes
Everybody messes up bread at some point. I once forgot salt entirely. The loaf tasted like edible cardboard.
Using Water That’s Too Hot
Hot water kills yeast.
Use warm water instead. Think comfortable bath temperature, not lava.
Adding Too Much Flour
Too much flour creates dry bread.
Sticky dough scares beginners, but slightly sticky dough usually bakes better.
Not Kneading Enough
Under-kneaded dough lacks structure.
Kneading develops gluten, which gives bread elasticity and strength.
Cutting Bread Too Early
Fresh bread smells amazing, so people slice it immediately.
Huge mistake.
Let bread cool for at least 20–30 minutes. Cutting too soon releases steam and ruins the texture.
How to Make Bread Softer
Some people love crusty artisan bread. Others want soft sandwich bread.
Tips for Softer Bread
Add:
- Milk
- Butter
- Oil
- Eggs
Fat softens bread texture beautifully.
Cover the Bread After Baking
Wrap warm bread lightly in a towel while cooling.
This softens the crust slightly.
How to Get Crispy Bakery-Style Crust
Want that crackly crust that sounds dramatic when sliced?
Use a Dutch Oven
A Dutch oven traps steam naturally.
This method creates:
- Better oven spring
- Crispier crust
- Professional-looking bread
Bake at Higher Heat
High heat boosts crust development fast.
Many artisan loaves bake around 450°F for this reason.
Easy Homemade Bread Variations
Once you master basic bread, you can experiment endlessly.
Garlic Herb Bread
Add:
- Garlic powder
- Rosemary
- Thyme
- Parmesan cheese
Your kitchen will smell ridiculous in the best possible way.
Honey Wheat Bread
Mix whole wheat flour with honey for a softer, slightly sweet loaf.
Cheese Bread
Fold shredded cheese directly into the dough.
Honestly, cheese improves almost everything.
How to Store Homemade Bread
Homemade bread lacks preservatives, so it behaves differently than store-bought bread.
Best Storage Methods
Store bread:
- In a bread box
- Wrapped in a towel
- In paper bags
Avoid refrigeration. Fridges dry bread out faster than you’d expect.
Can You Freeze Bread?
Absolutely.
Slice the loaf first before freezing. Then you can grab individual slices anytime.
Future-you will appreciate this move during lazy mornings.
Is Homemade Bread Healthier?
Usually, yes.
Homemade bread lets you control:
- Sugar
- Salt
- Preservatives
- Additives
Store-bought bread often includes ingredients that sound like chemistry homework.
Better Ingredient Quality
You can choose:
- Organic flour
- Whole grains
- Natural sweeteners
That flexibility makes homemade bread more nutritious overall.
Why Homemade Bread Feels So Rewarding
Bread baking slows life down in a good way.
You mix simple ingredients, wait patiently, and suddenly create something warm and comforting from scratch. Ever notice how homemade bread makes people instantly gather in the kitchen?
The process feels grounding. Messy? Sometimes. Worth it? Absolutely.
Even imperfect bread tastes better when you made it yourself.
Final Thoughts on How to Bake Bread Without a Bread Machine
Learning how to bake bread without a bread machine gives you freedom in the kitchen. You don’t need fancy equipment or professional training. You just need flour, yeast, patience, and a willingness to get your hands slightly messy.
Remember the basics:
- Use good yeast
- Knead properly
- Let the dough rise fully
- Bake with enough heat
- Cool the bread before slicing
That’s the foundation for great homemade bread.
Your first loaf may look weird. Your second loaf may look slightly less weird. Eventually, though, you’ll pull a golden loaf from the oven and suddenly understand why people obsess over bread baking.
And honestly? That moment feels pretty awesome 🙂